Oracle Autonomous Database 23ai on Oracle Cloud
In my previous posts, I had demonstrated how you can configure Oracle Database 23ai Free on Oracle VM or on docker. In this post, we will see how we can configure Oracle Autonomous Database 23ai on Oracle Cloud free Tier. It is fairly simple to setup. So let’s jump into it together!!!
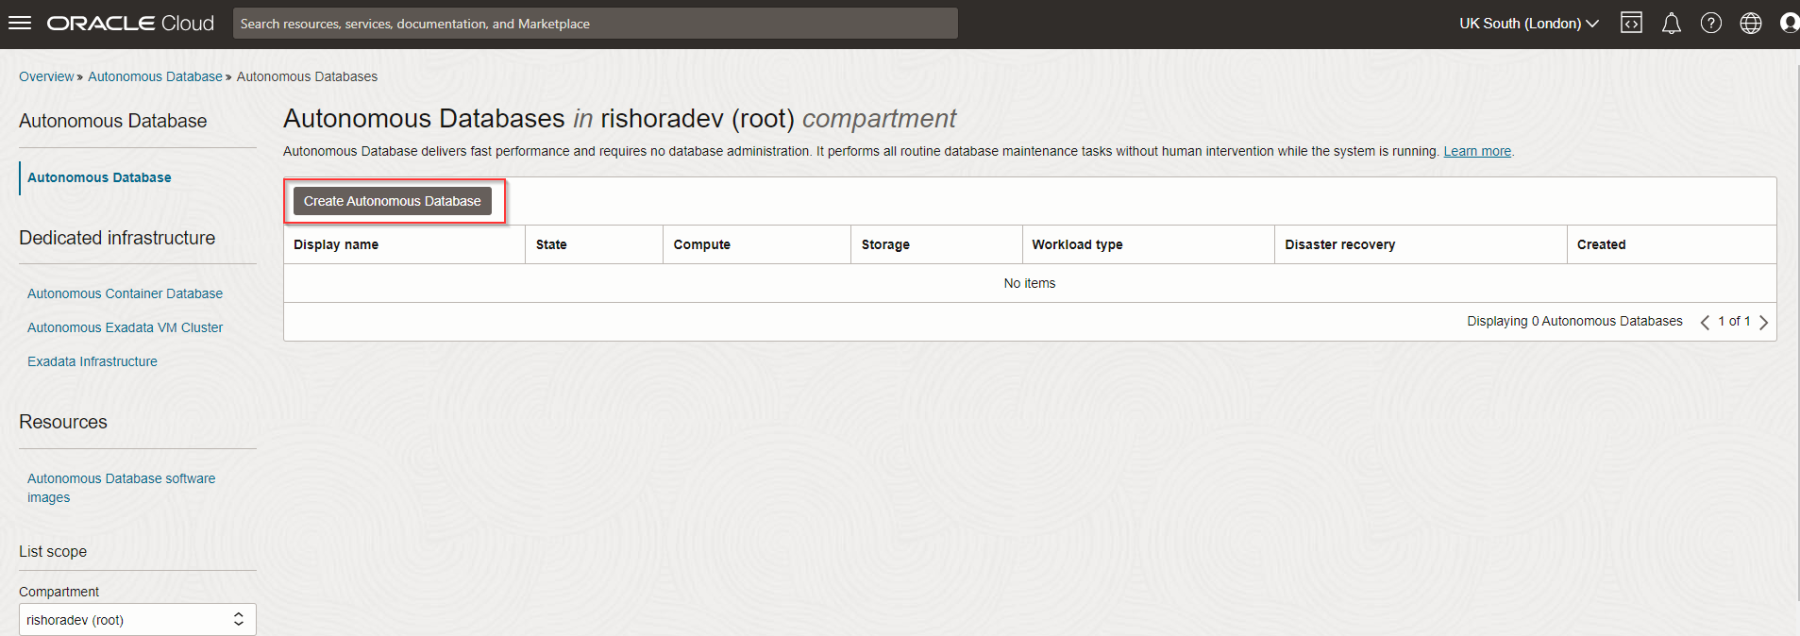
Once you have logged into you Oracle Cloud account, click on the Navigation Menu on the left-hand top corner and then click on Oracle Database. From the options available, click on Autonomous Database.
Database Creation

Now click on Create Autonomous Database.
Provide a valid Database Name and Display Name.

Select the workload type, here I will select Transaction Processing.

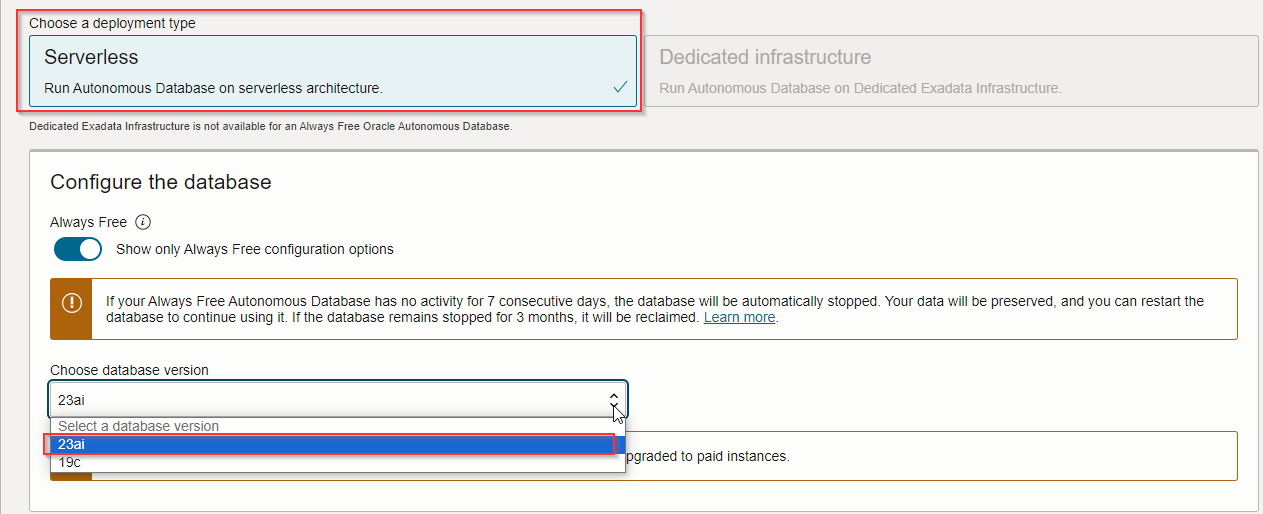
Deployment Type will be selected as Serverless. From the drop-down, choose the database version as 23ai.
Set the ADMIN user password.

I will leave the default settings for the remaining options and click on Create Autonomous Database.

It’ll take a few minutes for the instance to be provisioned.

Once the instance is provisioned, you’ll notice that the status will be updated.

That’s all the steps you need to follow to create 23ai instance up and running.
SQL Developer Setup
Once you have the database up and running, click on Database Connection and then click on Download Wallet.

When prompted, provide the ADMIN password for downloading the Wallet.

Now, open SQL Developer, and add a new connection. Provide a valid connection name. Provide ADMIN username and password. Select Cloud Wallet for Connection Type. Browse and add the Wallet that you downloaded and click on Test.

Click on Connect and voila, you can now access Oracle Cloud ATP 23ai instance from SQL Developer.

Happy learning!!!

Pingback: User Creation in ORACLE Cloud Autonomous Database 23ai | RishOraDev's Oracle Blogs
Pingback: Upload File from OCI Object Storage to Oracle ATP | RishOraDev's Oracle Blogs