User Creation in ORACLE Cloud Autonomous Database 23ai
In my previous post, we saw how we can create an Autonomous Database 23ai on Oracle Cloud. In this post we will see, how we can create an user and connect to the user.
User Creation
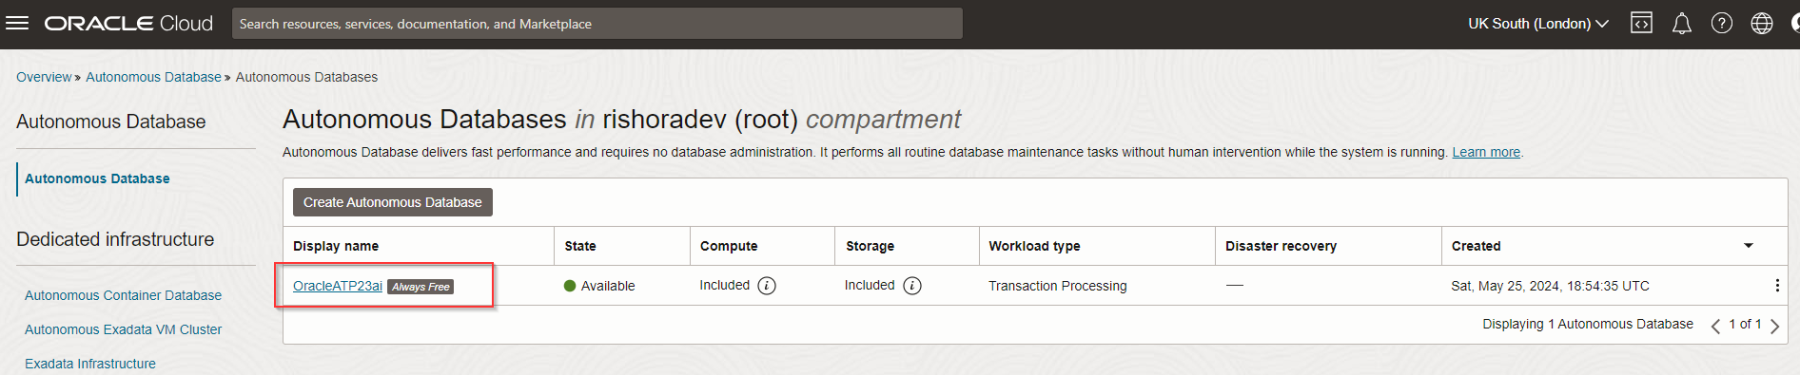
To create an user, login to your OCI console. From the Navigation Menu, click on Oracle Database and then on Autonomous Database.

You should be able to see the database you created earlier. Click on the database.
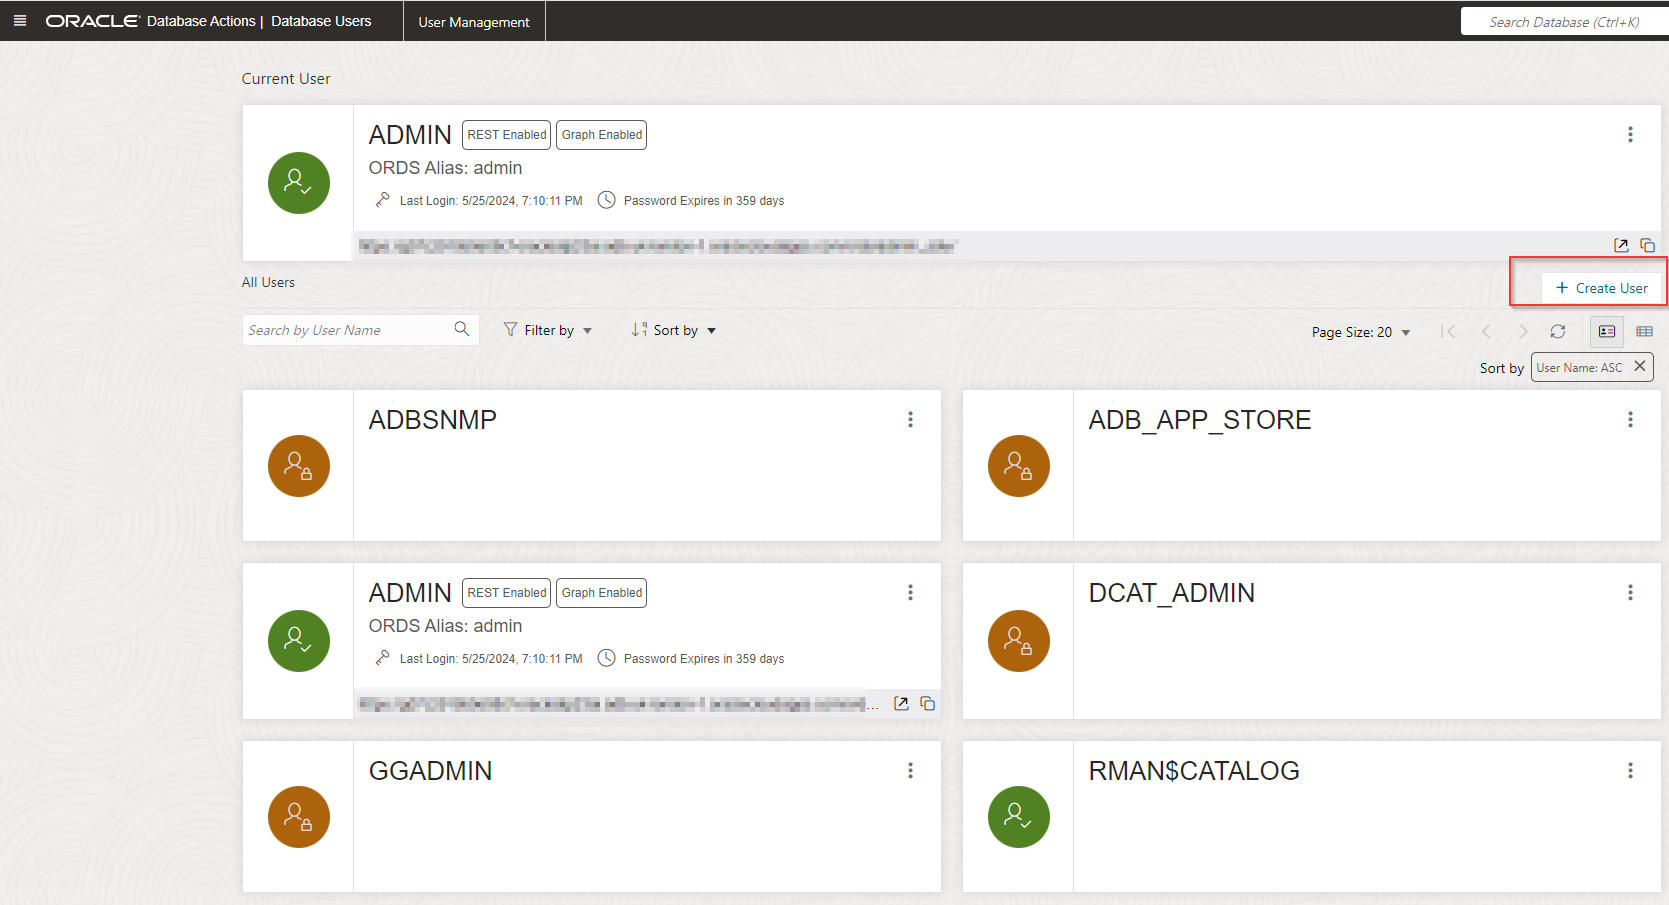
Now, under Database Actions, select Database Users from from the drop-down.

In the landing page, click on Create User.
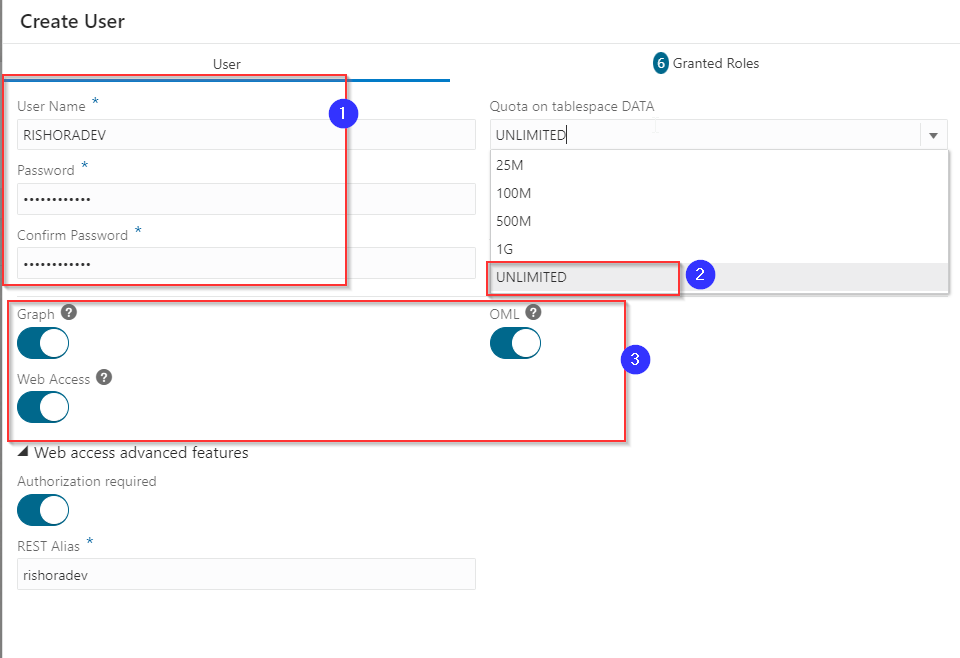
Use a valid Username and Password. Select appropriate Quota limit. Here, I have selected Unlimited. Choose whether you want GraphQL/Oracle Machine Learning/Web Access enabled and then click on Create User.
Once the user is successfully created, you it should be visible under All Users.

Microsoft VS Code Setup
In the previous post we saw how to setup the connection in SQL Developer. In this one, let us create the connection in Microsoft VS Code. You can refer to this blog post to check how you can setup SQL Developer in Microsoft VS Code.
Open Microsoft VS Code and click on SQL Developer Icon. Then click on Add connections.
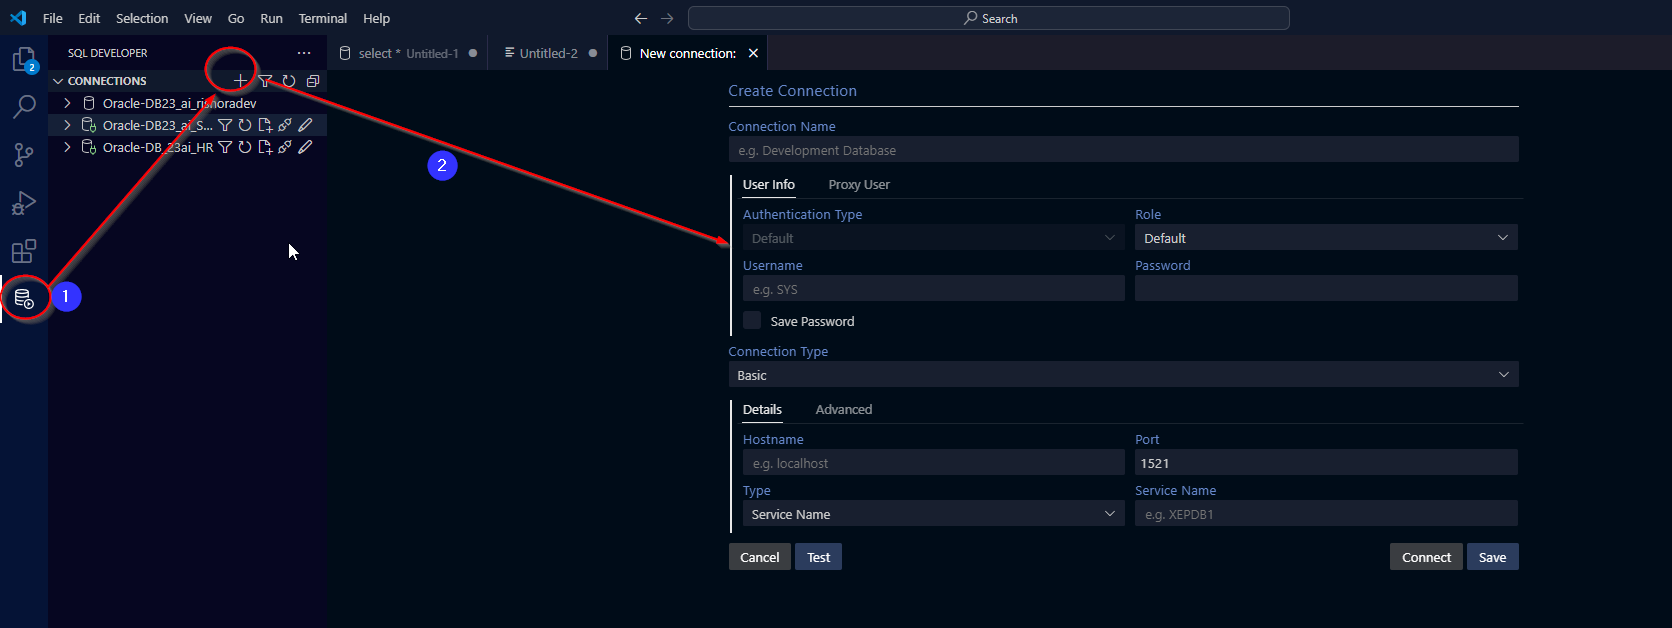
Give an appropriate name to the connection. Add in the Username and password for the user you created. Select the Connection Type as Cloud Wallet. and browse and upload the Cloud Wallet that you had downloaded.

Click on Test connection. If the connection is successful, you should see the following message.

Save the connection. Now you can connect to the new user through SQL Developer extension on Microsoft VS Code.


Happy learning!!!
