Creating an Oracle Integration 3 Instance
Oracle Integration Cloud instances help you to design integration between the cloud applications and on-premise applications. It is a fully managed, pre-configured environment loaded with hundreds of pre-built adapters to connect with Oracle and other third-party applications. You can automate business processes, develop visual applications, use an SFTP-compliant file server to store and retrieve files, and exchange business documents with a B2B trading partner using the Oracle Integration Cloud instance. You can provision, manage and monitor an Oracle Integration Cloud instance from the Oracle Cloud Infrastructure console. In this blog we will look into the step-by-step process of how to provision a Oracle Integration Cloud instance.
Create a Child Compartment
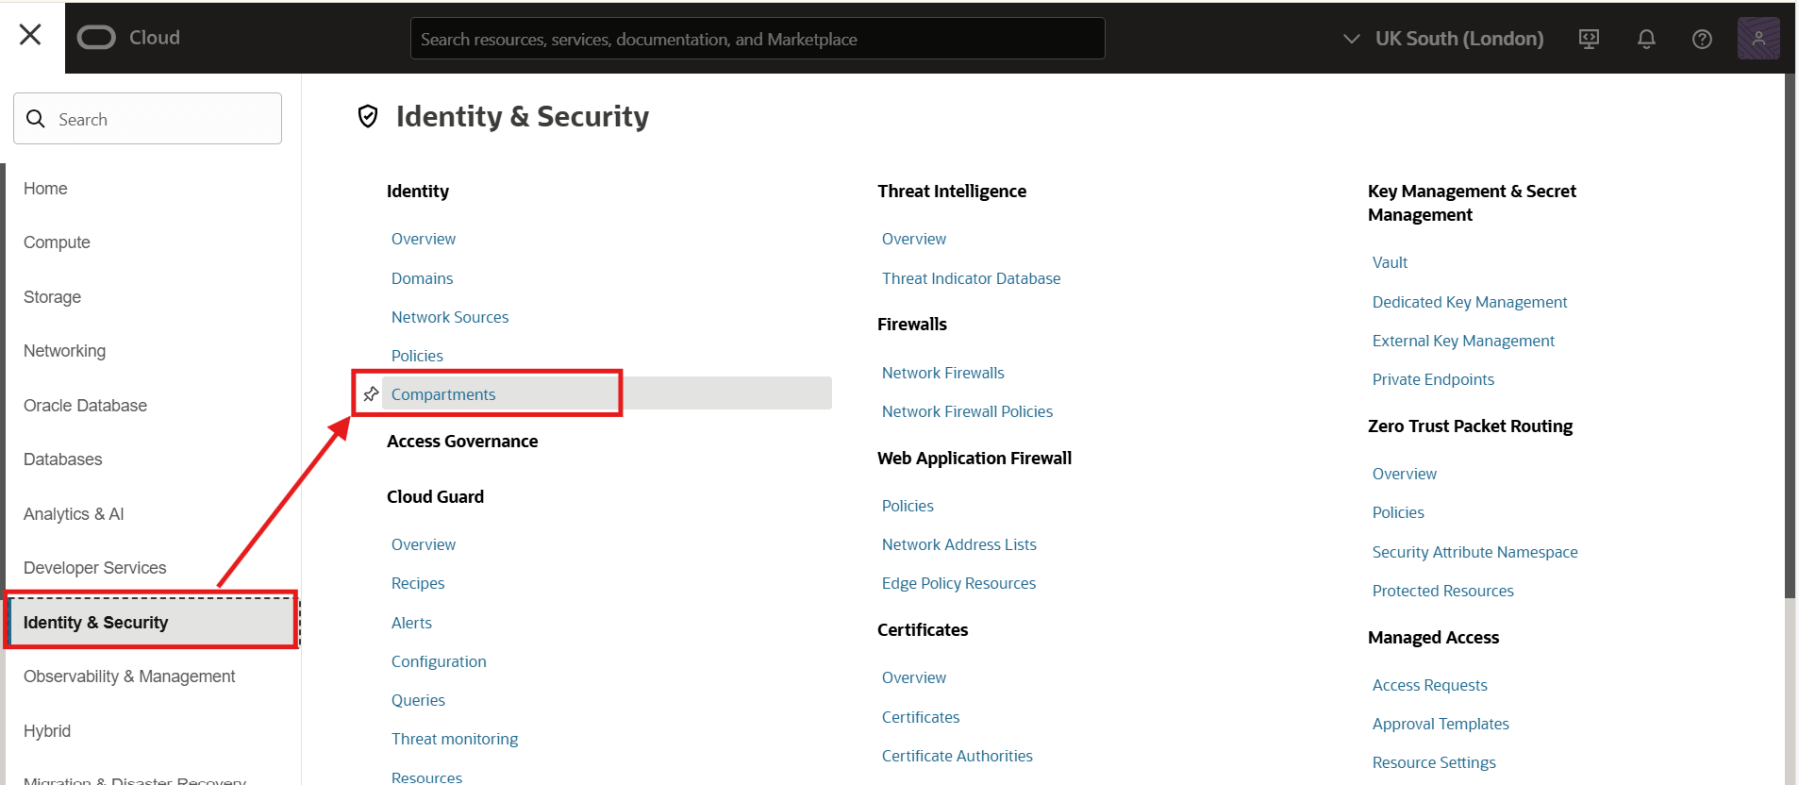
To create an Oracle Integration instance, you must first create a compartment. You can create the instance in the root compartment. However, it is recommended that you create the Oracle Integration instance in a child compartment. To create a child compartment under the root compartment, sign into your Oracle Cloud Infrastructure console. Then, click on the navigator menu and navigate to Identity & Security > Compartments.
In the compartments page, all the active compartments would be listed. You should only see the root compartment if you have no other compartments created, as shown below.
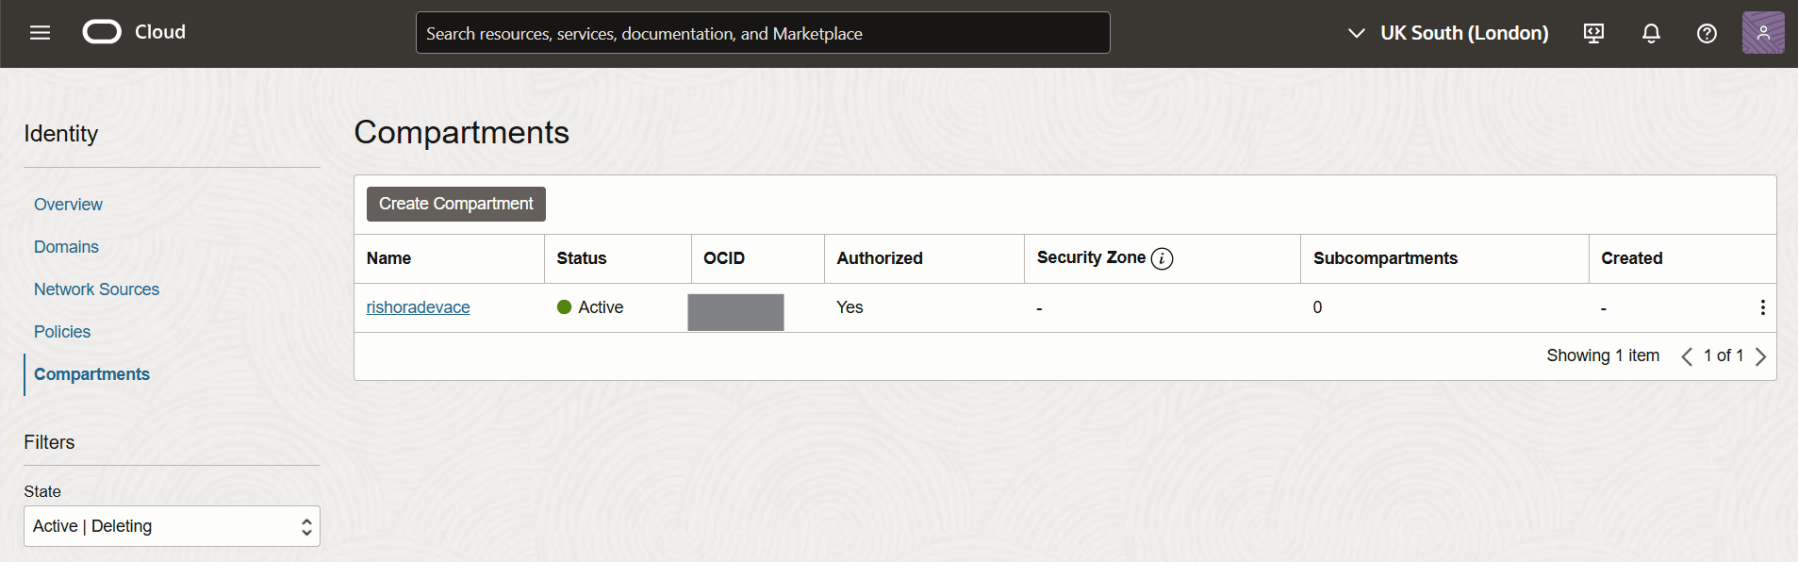
Click on Create Compartment.
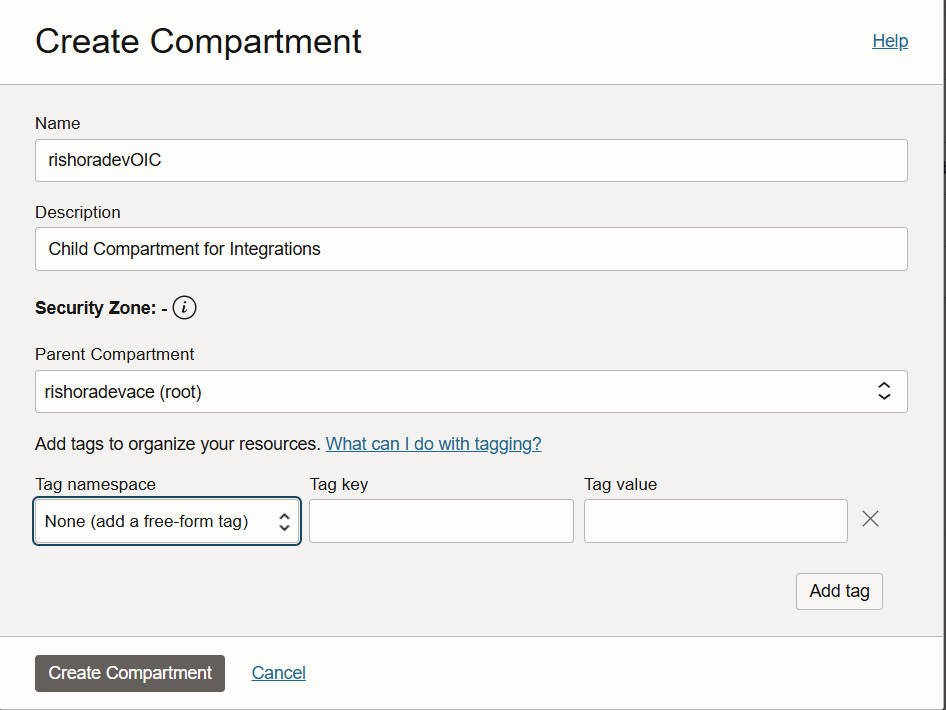
Type in the compartment name that is unique across all compartments in your tenancy. Enter a description for the compartment. Under Parent Compartment, chose the compartment under which you want to create the child compartment. Optionally, you can add Tags to organize and list resources based on your business needs. Click on Create Compartment.
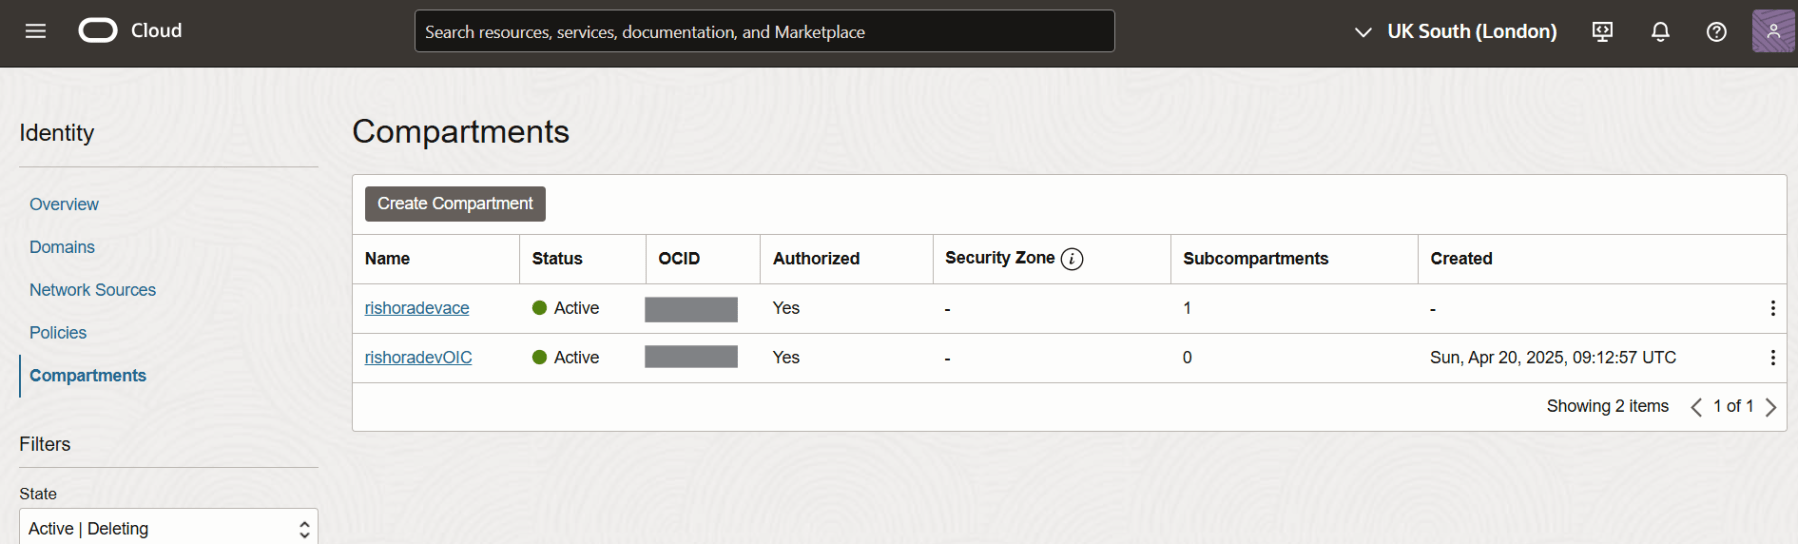
Once the compartment is created it should be listed.
Provisioning Oracle Integration Cloud Instance
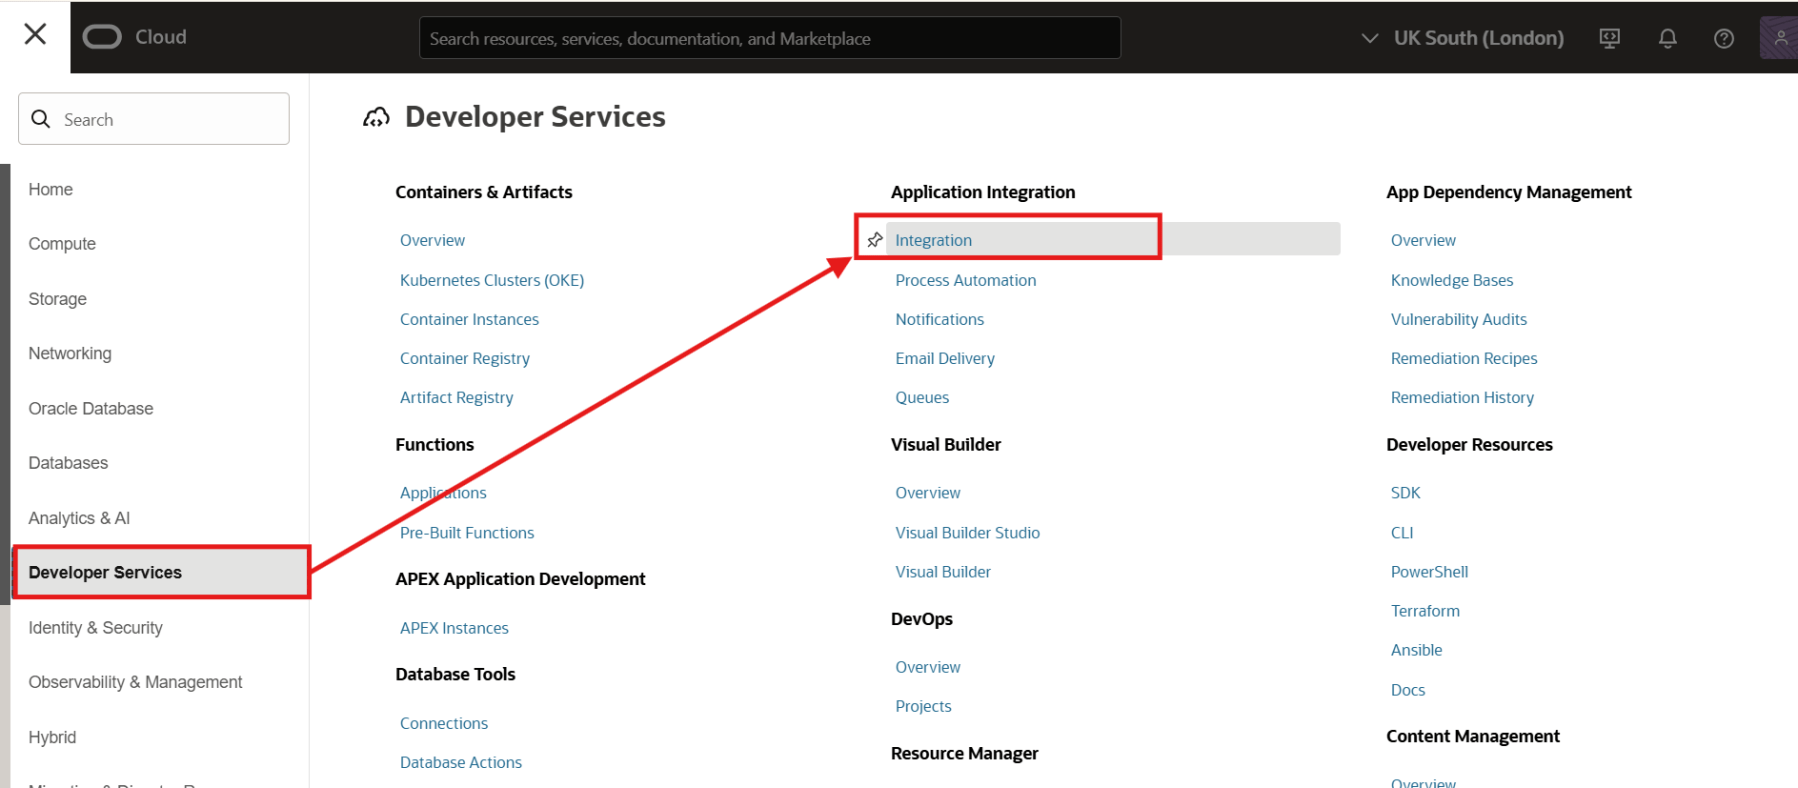
Now that we have the compartment created, lets us create the OIC instance. From the navigation menu, click Developer Services. Under Application Integration, click Integration.
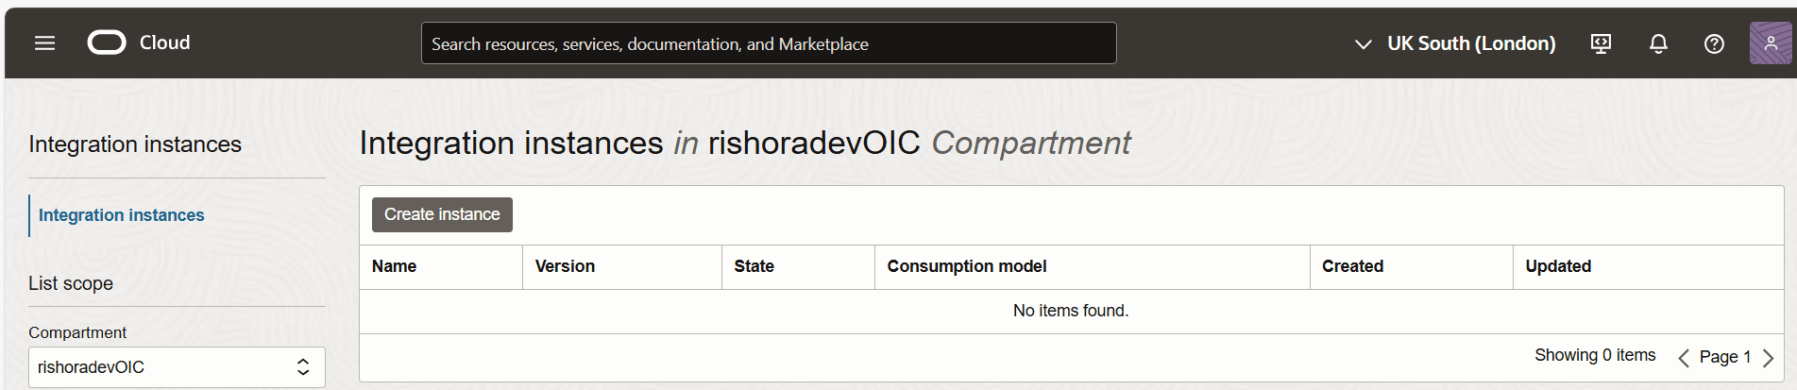
In the Integration Instances page, navigate through the compartment hierarchy and select the compartment in which you want to create the Oracle Integration Cloud instance.
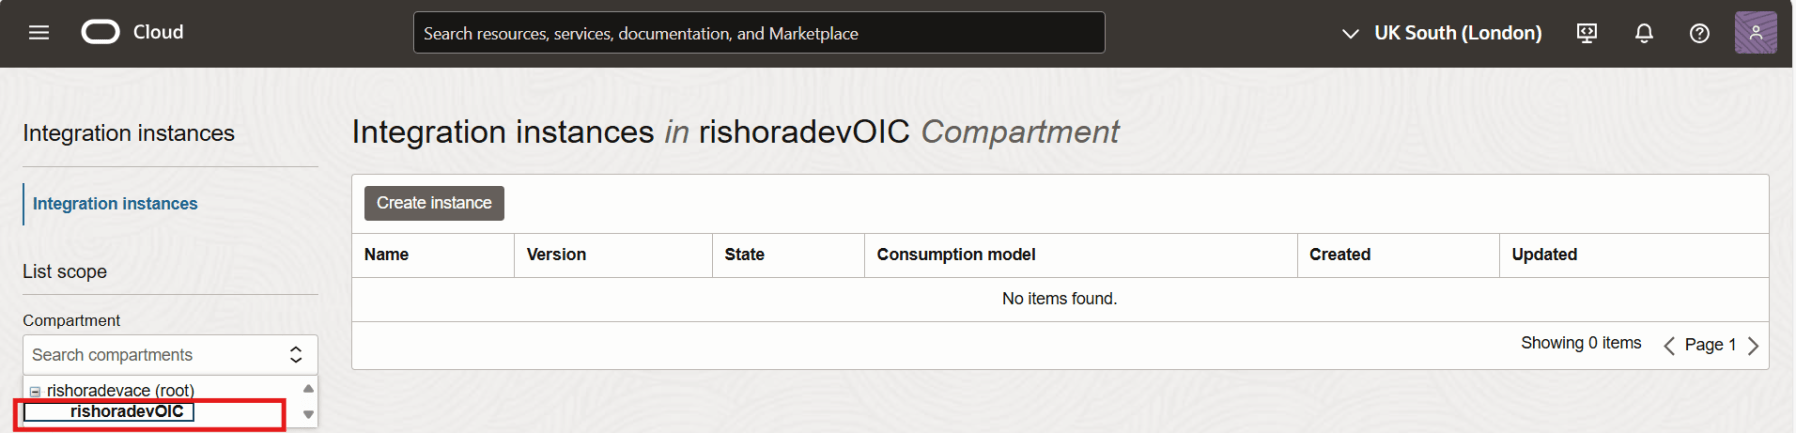
Once the compartment is selected, click on Create Instance.
Enter a name for the instance. Oracle Integration 3 would be the default version. You can create a new Oracle Integration Gen 2 instance only if you have an existing Oracle Integration Gen 2 instance in the region. For Consumption model, typically, only one consumption model is displayed, but if multiple consumption models are available in your tenancy, select the one you want to use for this instance. In this case, Metered (universal credit) is the available option. Note that the Usage metrics are different for Oracle Integration versus Oracle Integration for SaaS.

Under Edition, we select Enterprise, which includes integration, both standard and enterprise adapters, recipes and accelerators, Visual Builder and File Server. Enterprise Edition also enables you to design, automate, and manage your business processes in the cloud with Process Automation, perform UI-based automation with robots using robotic process automation, and support business-to-business communications using B2B for Oracle Integration. This edition also supports disaster recovery.

We select Development as the Shape.

We select Subscribe to a new Oracle Integration license as the License Type, as we are purchasing a new license. If you are using this license type, each message pack includes 5000 messages per hour. If you are provisioning Oracle Integration for SaaS, this field is read-only and displays Subscribe to a new Oracle Integration license.
Select a suitable number of message packs to handle the message usage you expect for your instance. Since we are going to use this for proof-of-concepts, we use the default value of 1. You can select up to 12 message packs in the user interface.

Under Show advanced options, you can configure Identity domain to associate this integration instance with a secondary identity domain. This allows you to manage all your instances in your tenancy from one domain, rather than having to sign into each domain to manage the associated instances.

If you want to configure disaster recovery, select Enable disaster recovery.

You can add Tags to track resources within your tenancy.

Next, click on Create. The instance takes a few minutes to get provisioned. You can check the status of the instance in the Integration instances page.
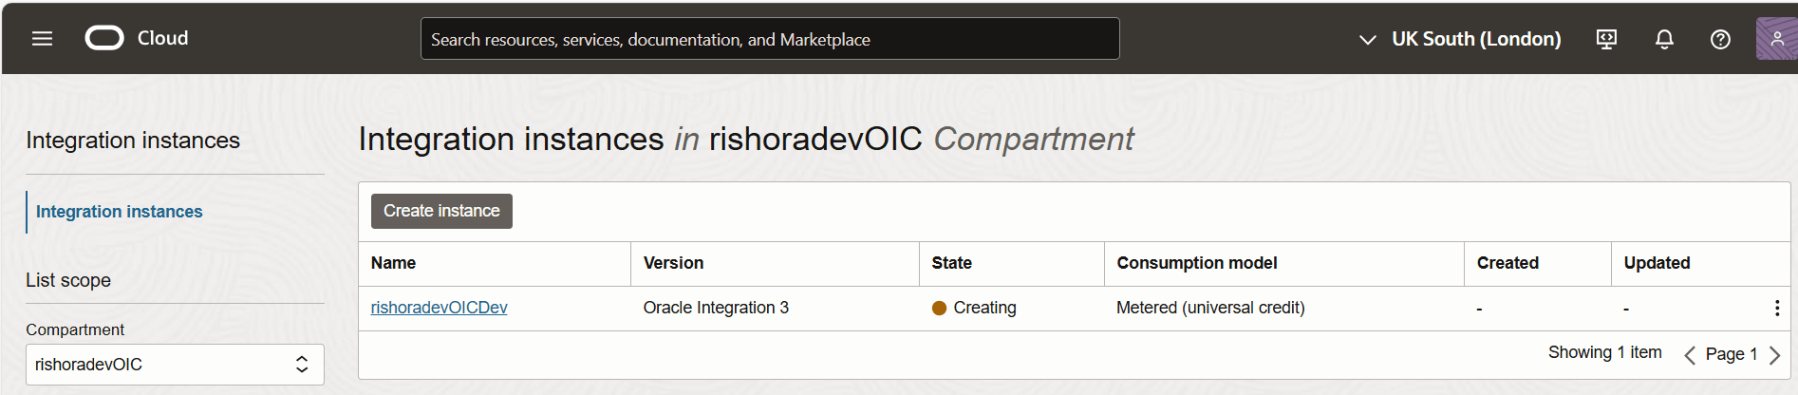
When instance creation completes successfully, the state of the integration instance shows as Active.
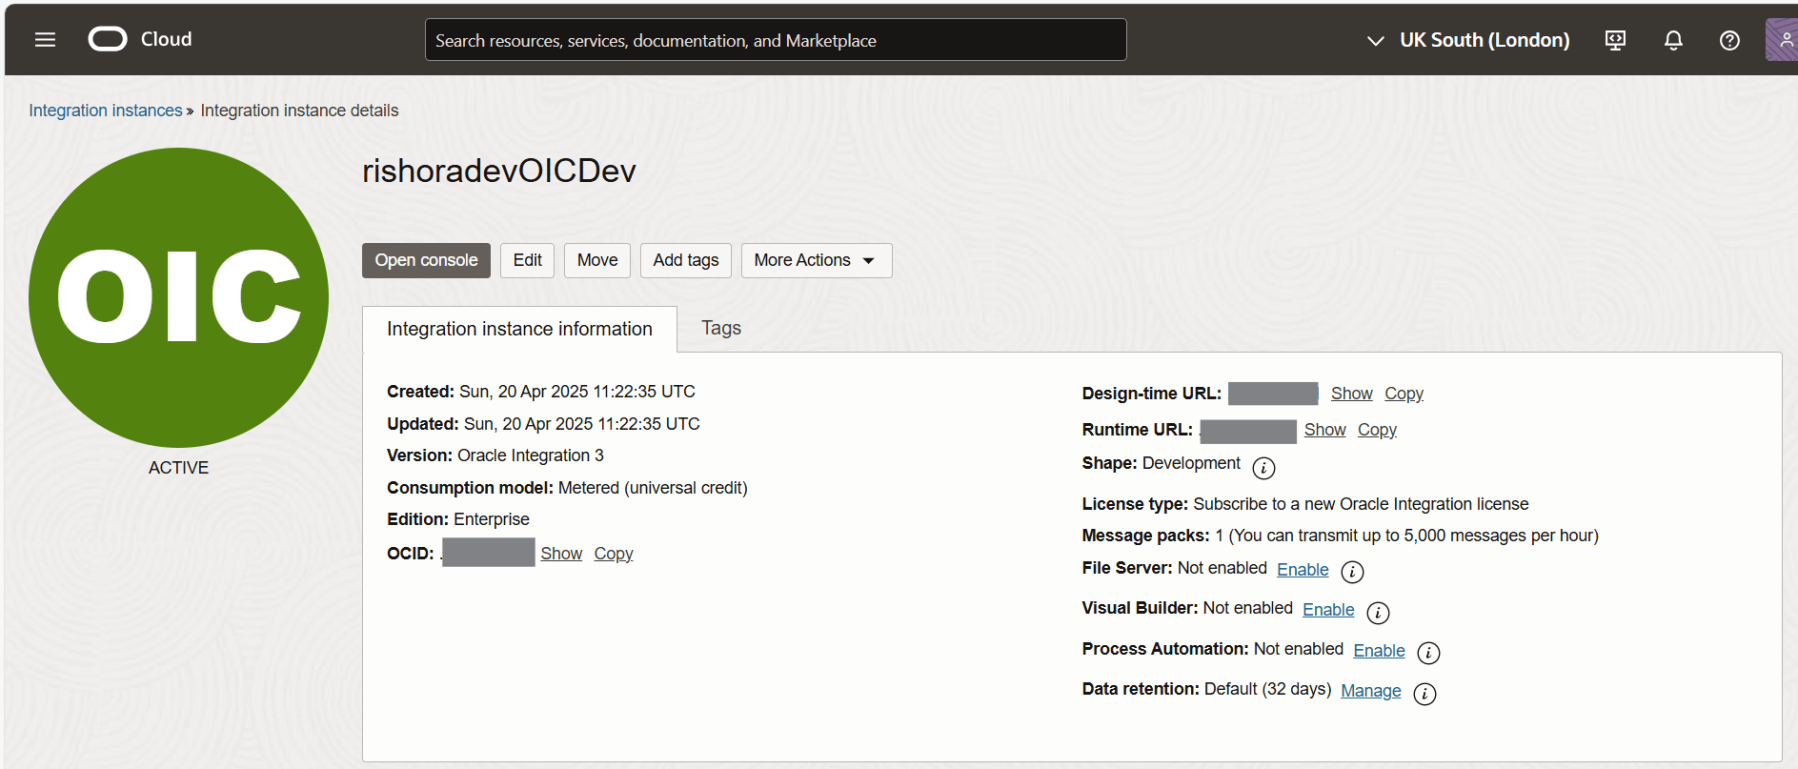
Voila, you have just created an integration instance. Hope this is useful. Happy learning!
References

Pingback: Enabling File Server in Oracle Integration 3 | RishOraDev's Oracle Blogs
Pingback: Manage File Server Settings in Oracle Integration 3 | RishOraDev's Oracle Blogs