Enabling File Server in Oracle Integration 3
If you are looking to design a file-based integration, then you need to use a File Server. Oracle Integration comes bundled with an SFTP server which you can use to store, share, and receive files, including files for SaaS integrations and third-party transfers. Oracle provides you with 500 GB of free storage.
When you provision an Oracle Integration Cloud instance, by default the file-server is disabled. You need to enable it separately. In my previous post, we saw how we can provision an Oracle Integration Cloud Gen 3 instance from the Oracle Cloud Infrastructure Console. In this post we will describe how we can enable a File Server.
Enable File Server
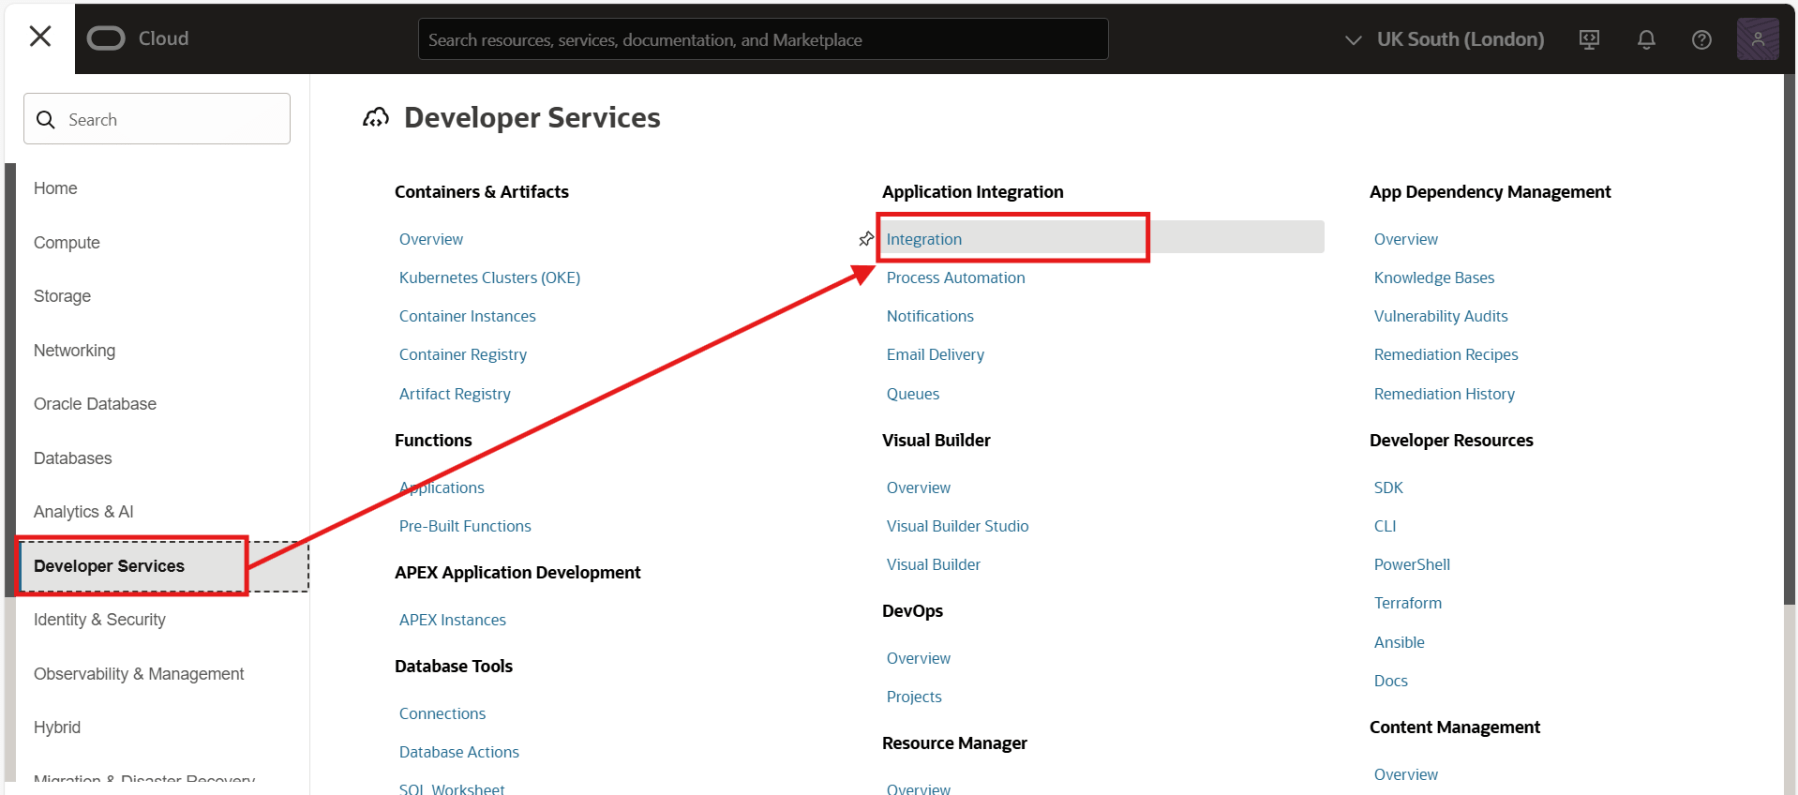
To enable the file server, you need to have Administrator privileges. Enabling File Server is a one-time action in the Oracle Cloud Infrastructure Console. Login to your Oracle Cloud Infrastructure console using an user having administrator privileges. From the navigation menu, click Developer Services. Under Application Integration, click Integration.
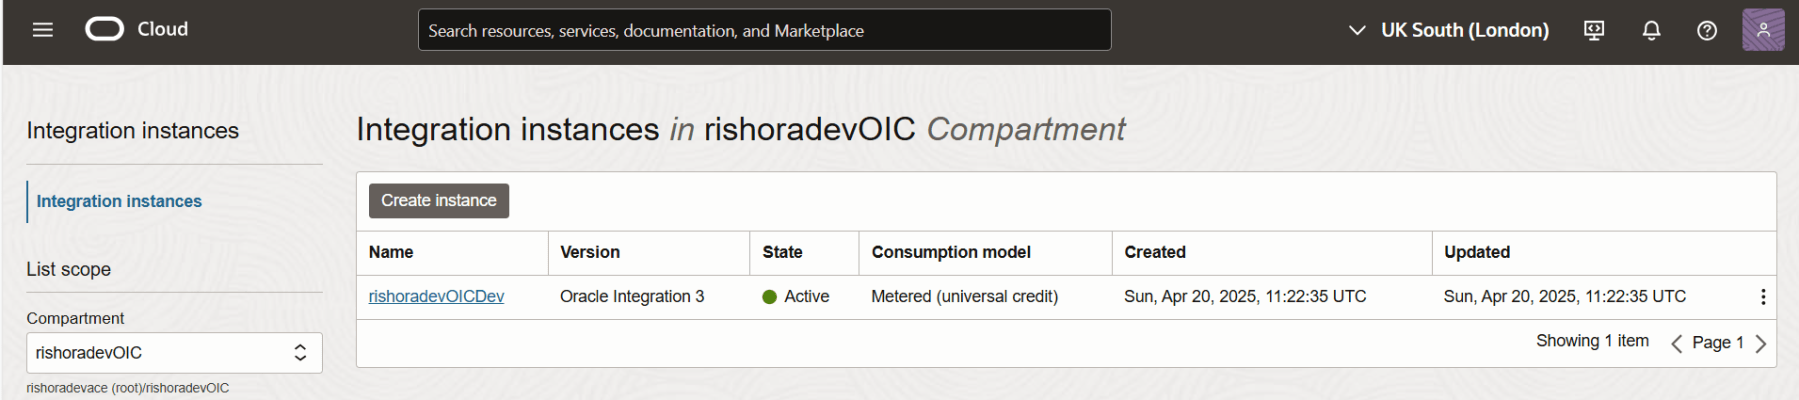
All the integration instances are displayed. Click on the instance for which you want to enable file server.
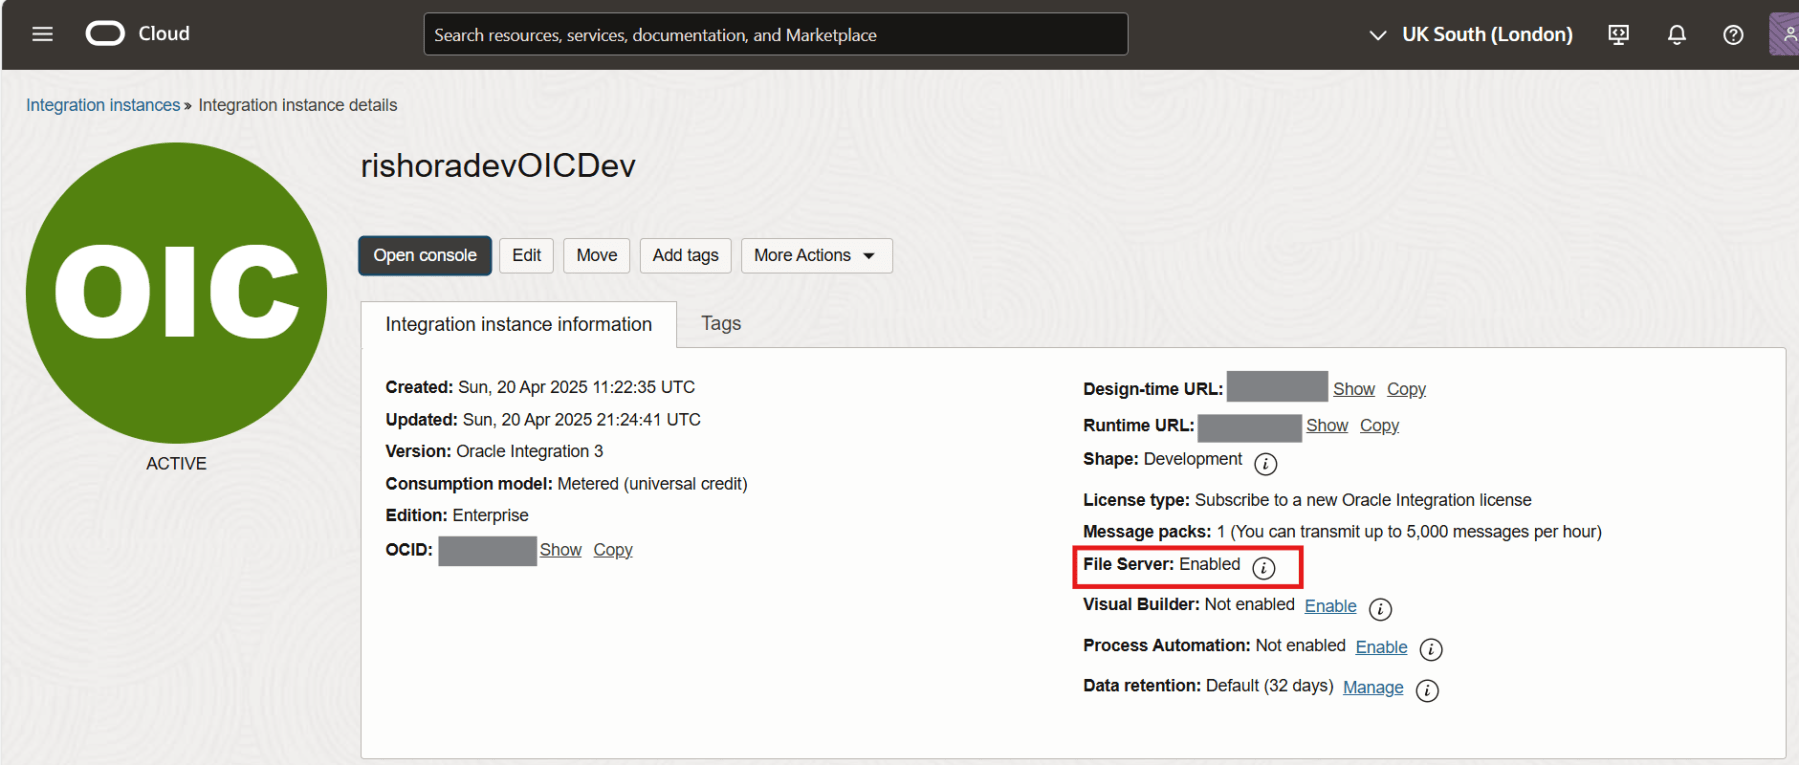
In the Integration instance details page, under File Server, click Enable.

Confirm by clicking the Enable button.

The OIC icon turns orange and its status changes to Updating. It takes several minutes for the process to complete.

Once complete, the OIC icon changes back to green with an Active status, and File Server shows as Enabled.
And that’s it. The file-server is enabled and ready to be used.
Navigate to File Server
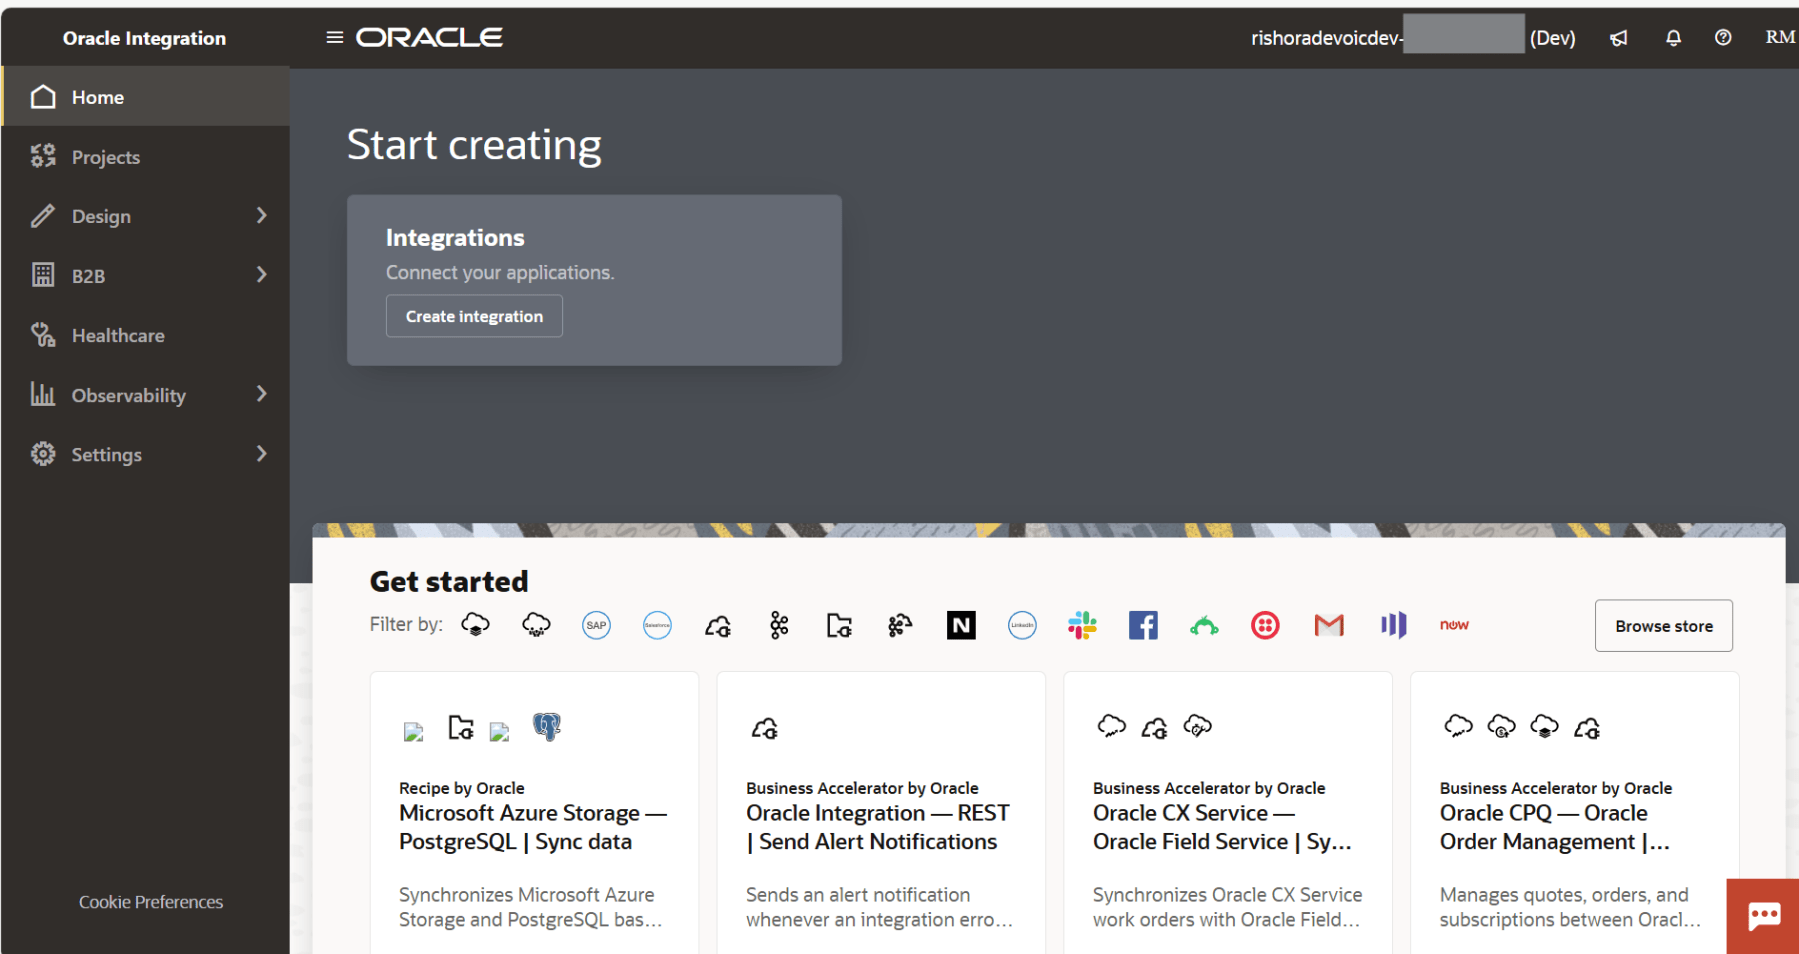
Click the Open Console button from the menu to open up Oracle Integration Cloud. The Oracle Integration environment opens up. In the navigation pane, click Settings.
Then click File Server.

Click Settings.

In the next post we shall understand some of the basic configurations of the file-server. Hope this was useful. Happy learning!
References

Pingback: Manage File Server Settings in Oracle Integration 3 | RishOraDev's Oracle Blogs