Creating a Knowledge Base for creating Oracle Generative AI RAG Agent
This is the second blog of the series Create an Oracle Generative AI RAG Agent. For simplicity, I have broken the post down into 3 parts:
- Enabling Oracle Generative AI Agent for OCI Regions
- Creating a Knowledge Base for creating Oracle Generative AI RAG Agent
- Create Your First Oracle Generative AI RAG Agent
In my previous blog, we discussed the steps that you need to perform if your tenancy is not subscribed to any of the regions where OCI Generative AI Services are available. In this blog, we will continue with the next steps. We will learn how to create a Storage Bucket and then create a Knowledge Base which derives the data from the text files uploaded in the dataset. This Knowledge Base will be used when we configure or enable Retrieval-Augmented Generative (RAG) for our Oracle Generative AI Agent.
Prepare Dataset which would act as the knowledge Base
The very first step is to prepare data for Generative AI Agents data sources before uploading to Object Storage. The data for Generative AI Agents must be uploaded as files to an Object Storage bucket. Only PDF and txt files are supported. You can upload multiple files to the Object Storage, the size of each file should not exceed 100 MB. PDF files can include images, charts, and reference tables but these must not exceed 8 MB.
For this blog, I’m the using the files from the example used in Livelabs. Or click on download the zip file below.
After downloading the file, unzip the files.
Create a Storage Bucket
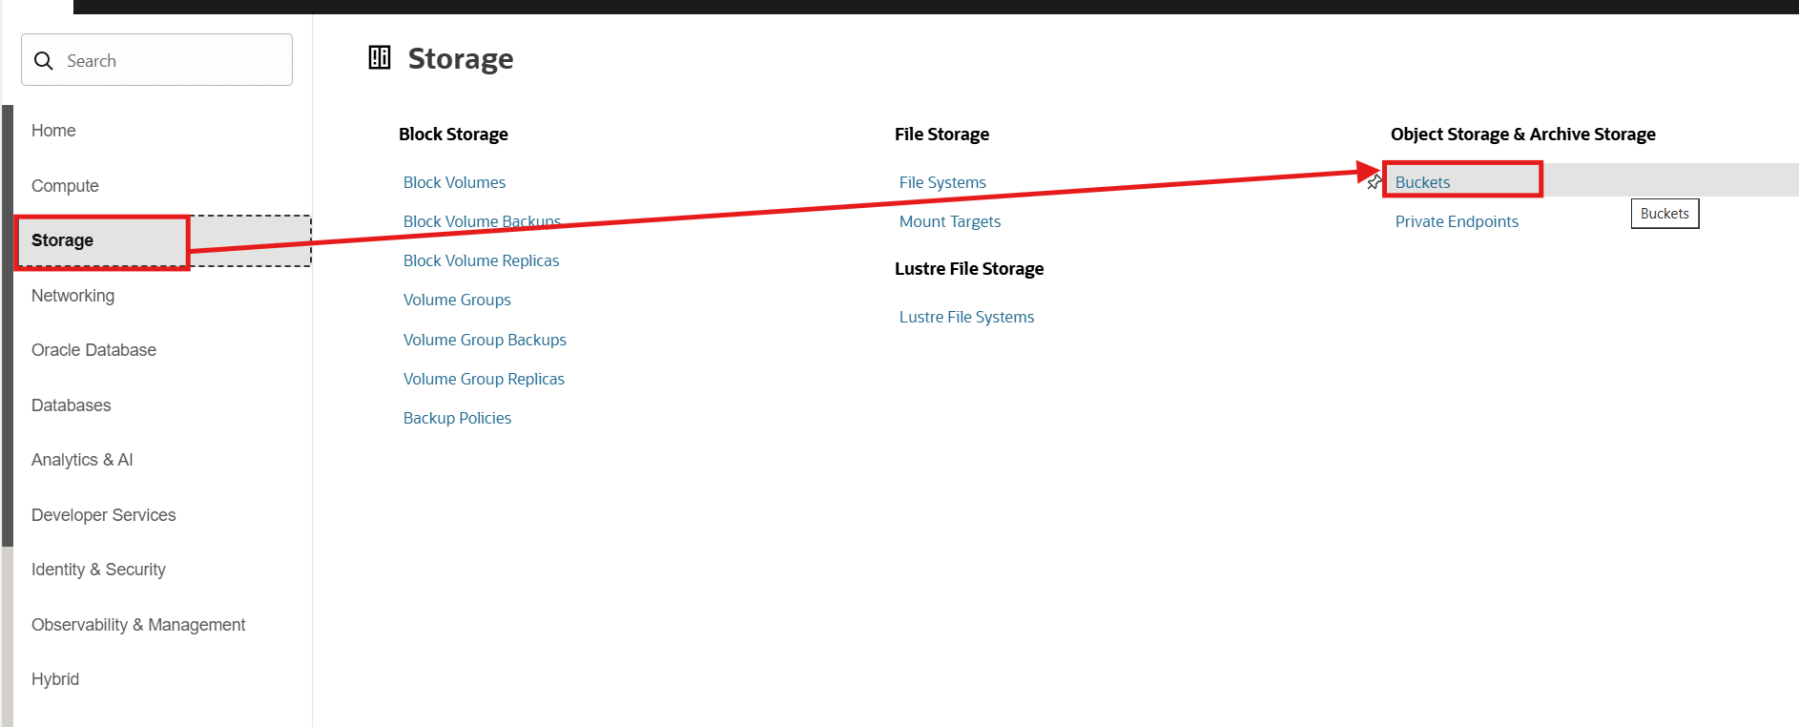
The first step is to create a OCI Bucket. In order to create the bucket, from the navigation menu, click on Storage > Object Storage & Archive Storage > Buckets.
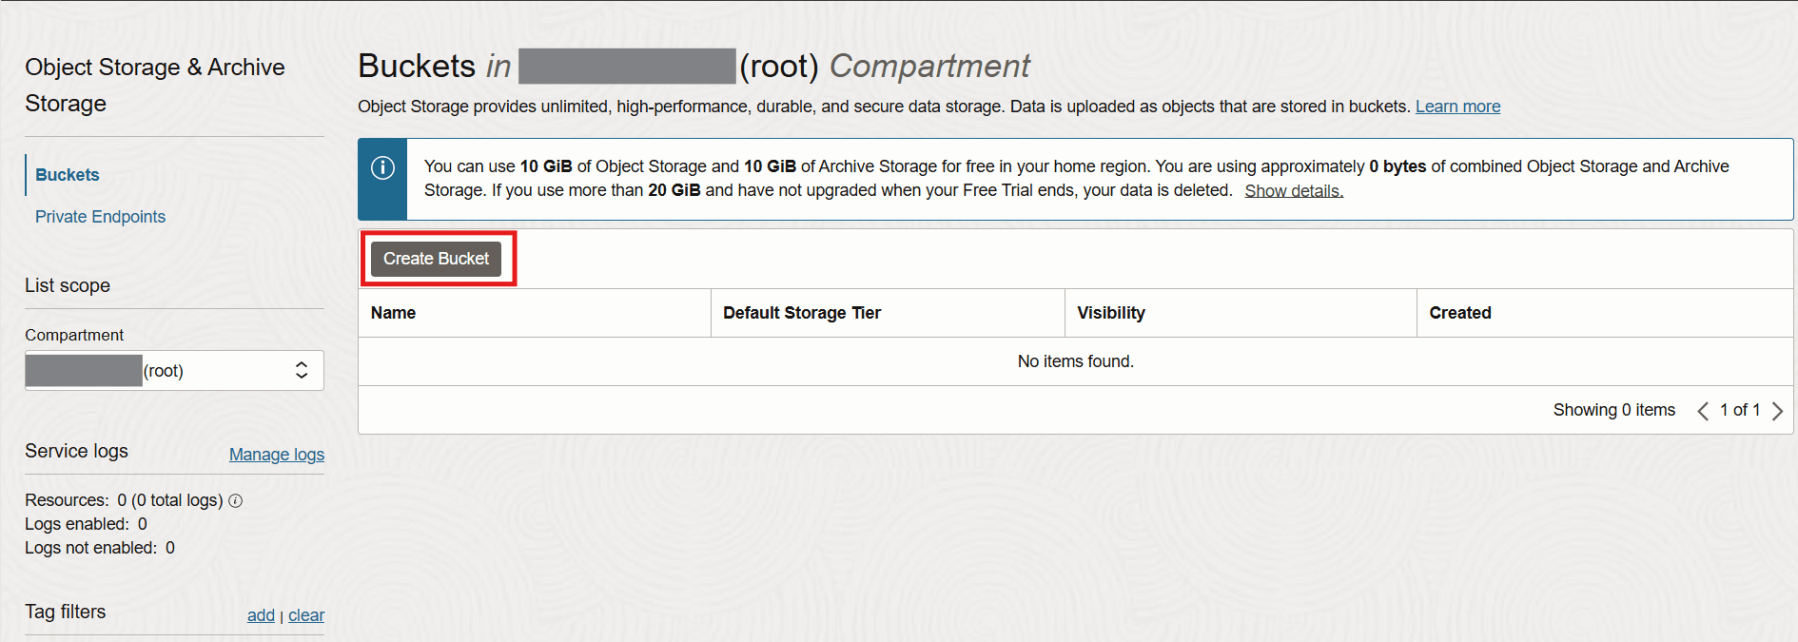
Make sure the root compartment is selected. Click on Create Bucket.
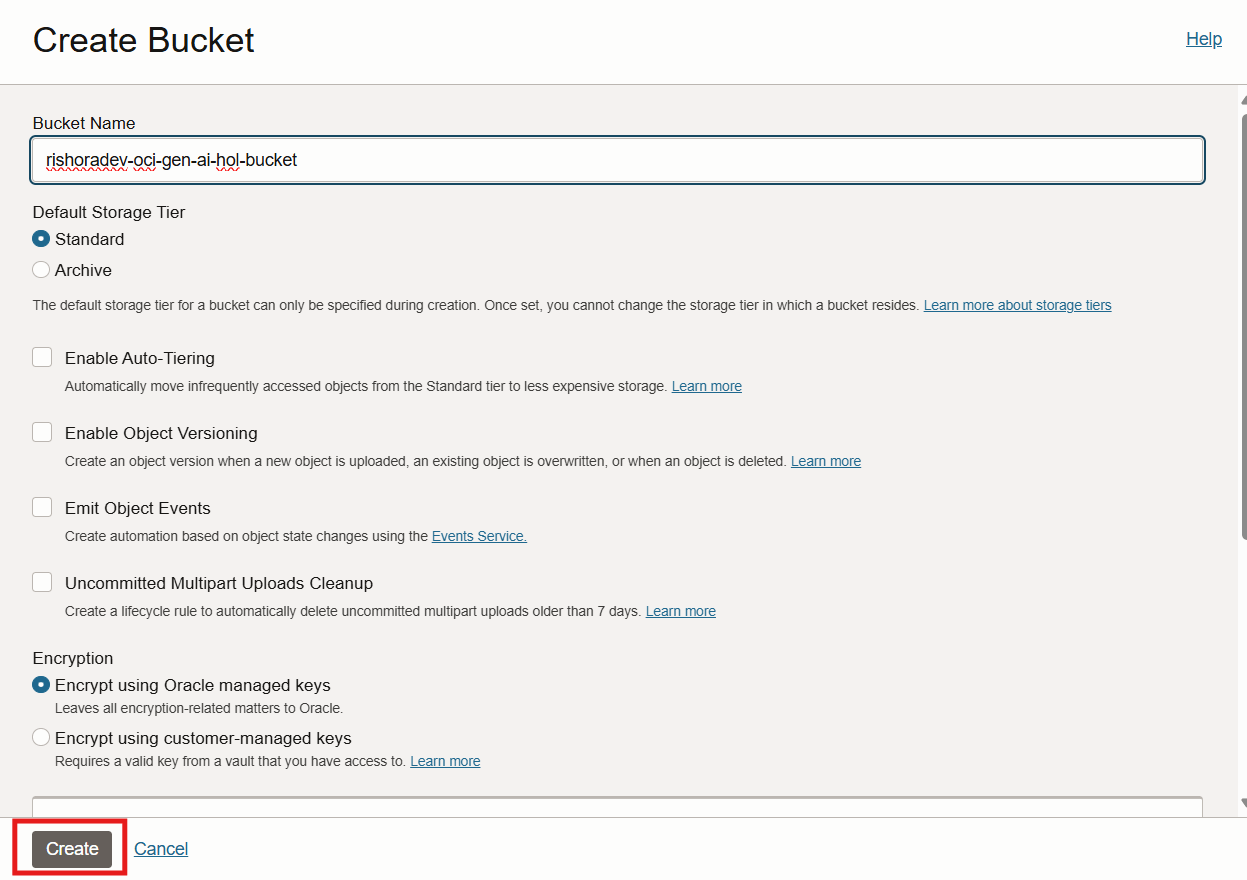
In the Create Bucket page, enter a valid Name for the bucket. Select Standard as the Default Storage Tier. Under Encryption, use the default selection on Encrypt using managed keys. Once you are done, click on Create.
The bucket is created. You can view the new bucket under Buckets list. Now, we shall upload the files that we had downloaded earlier into the bucket. Click on the bucket to go to the bucket details page.

In the Bucket details page, click Upload.

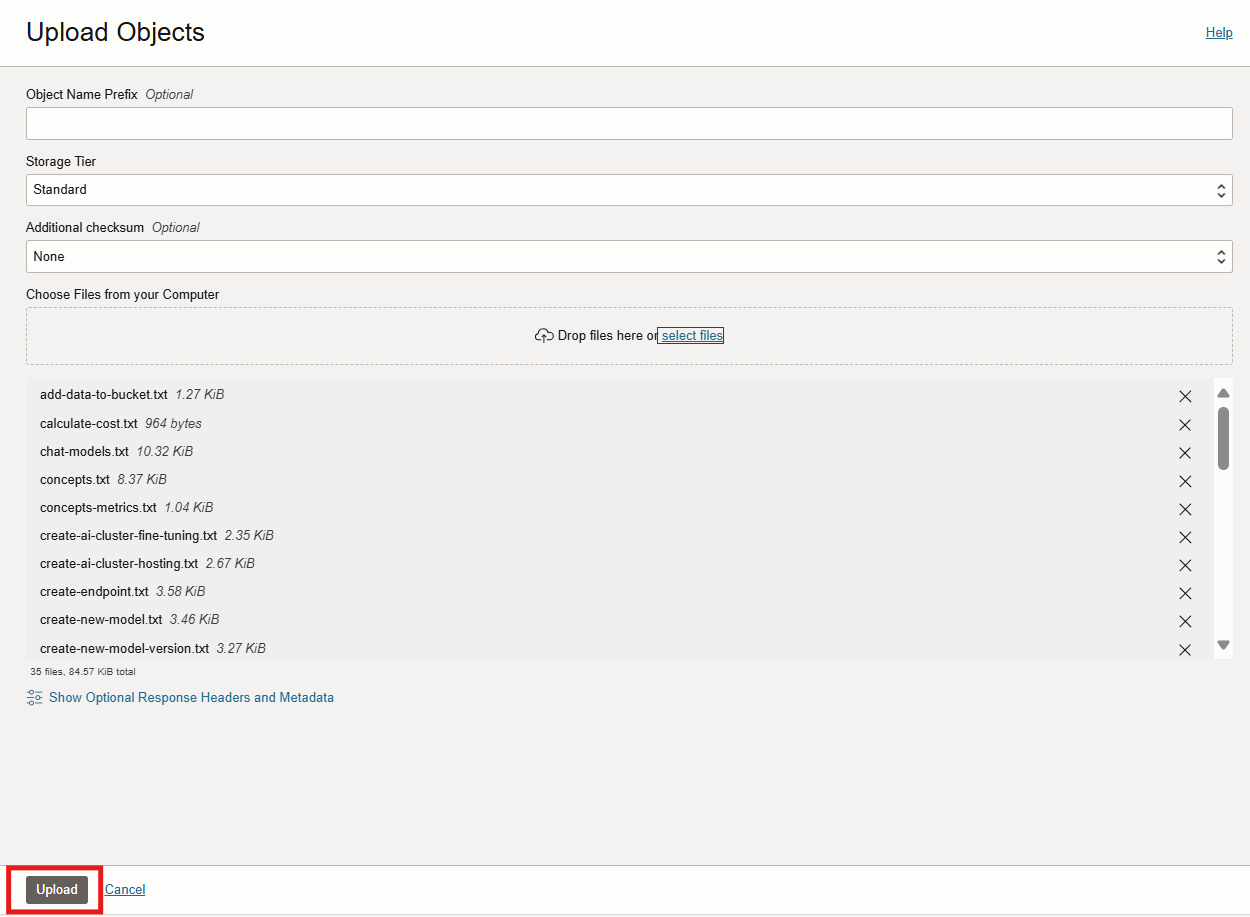
In the Upload Objects page, optionally add an Object Name Prefix. For Storage Tier, select Standard. Click on Drop files here or select files.

Select the files that you had downloaded earlier and click Upload.
It shouldn’t too long for the files to get uploaded.
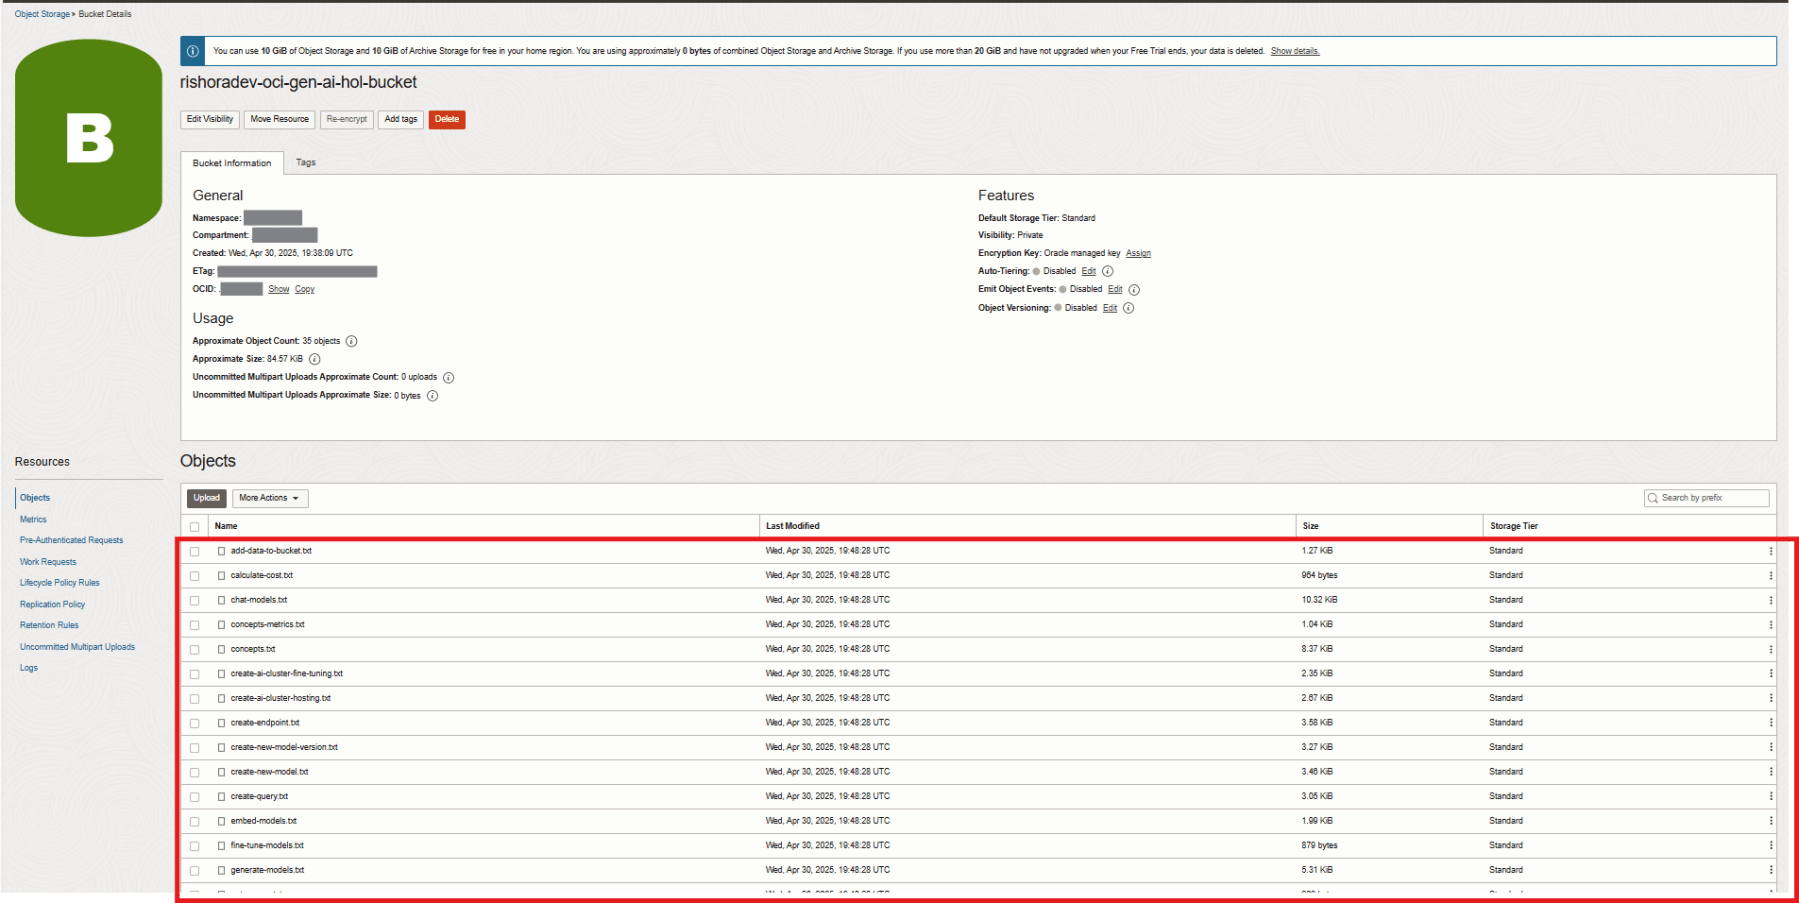
Congratulation, you have successfully created the bucket. Now it’s time to create the Knowledge Base.
Create Knowledge Base
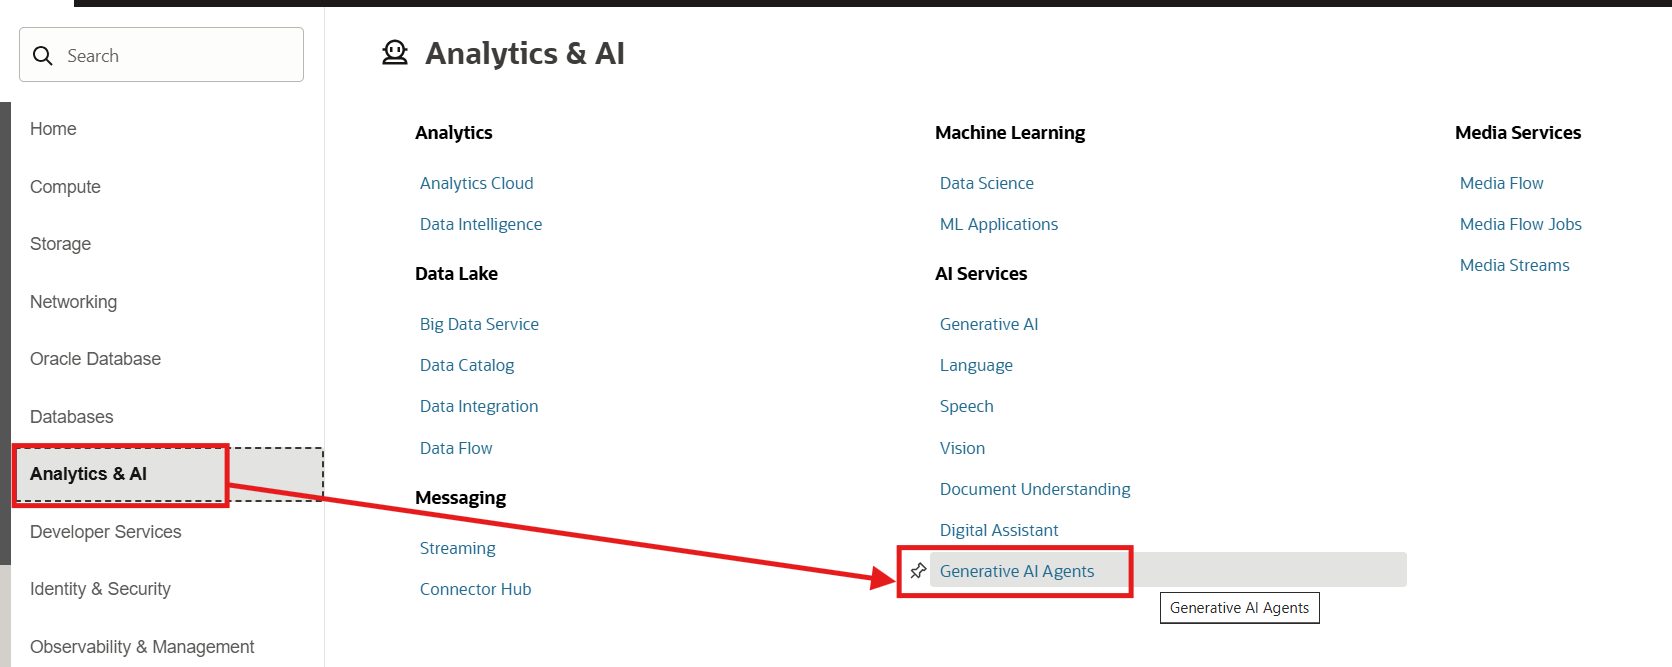
To create the knowledge base, navigate to Analytics & AI > Generative AI Agents.
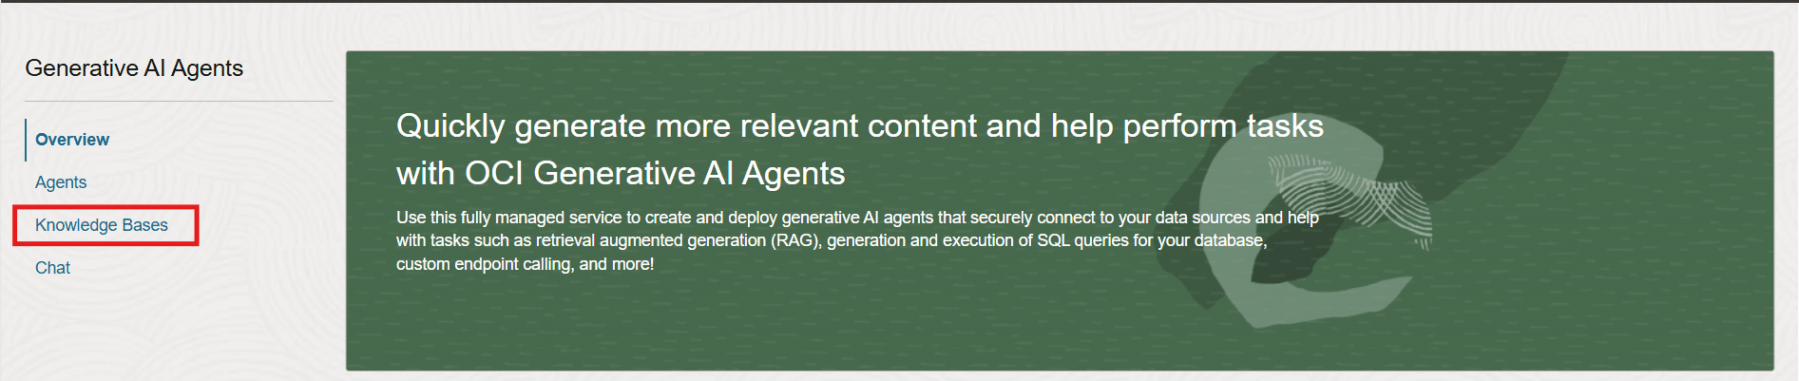
In the Generative AI Agents page, click on Knowledge Bases and click on Create knowledge base.
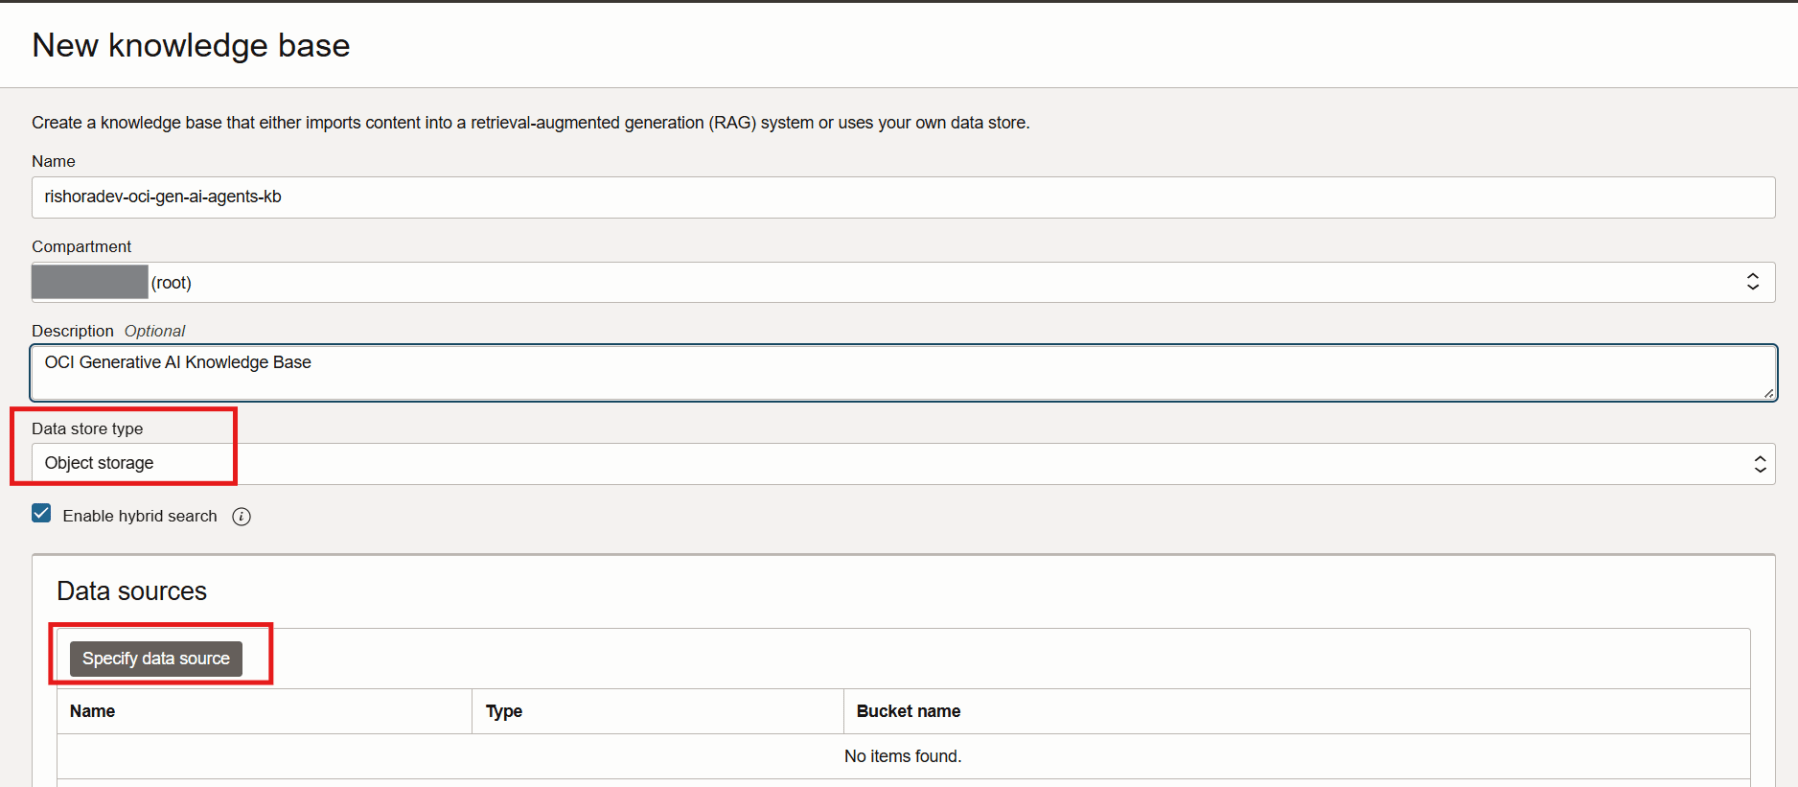
Enter a Name and Description for the Knowledge Base. Select Object storage as the Data store type. Under Data sources click on Specify data source.
In the Specify data source page, enter a Name and Description for the Data Source. In the Data bucket section, make sure you choose the correct Compartment. Select the storage bucket into which you’ve uploaded the dataset earlier. Tick the checkbox Select all in bucket. Then Click the Create button.
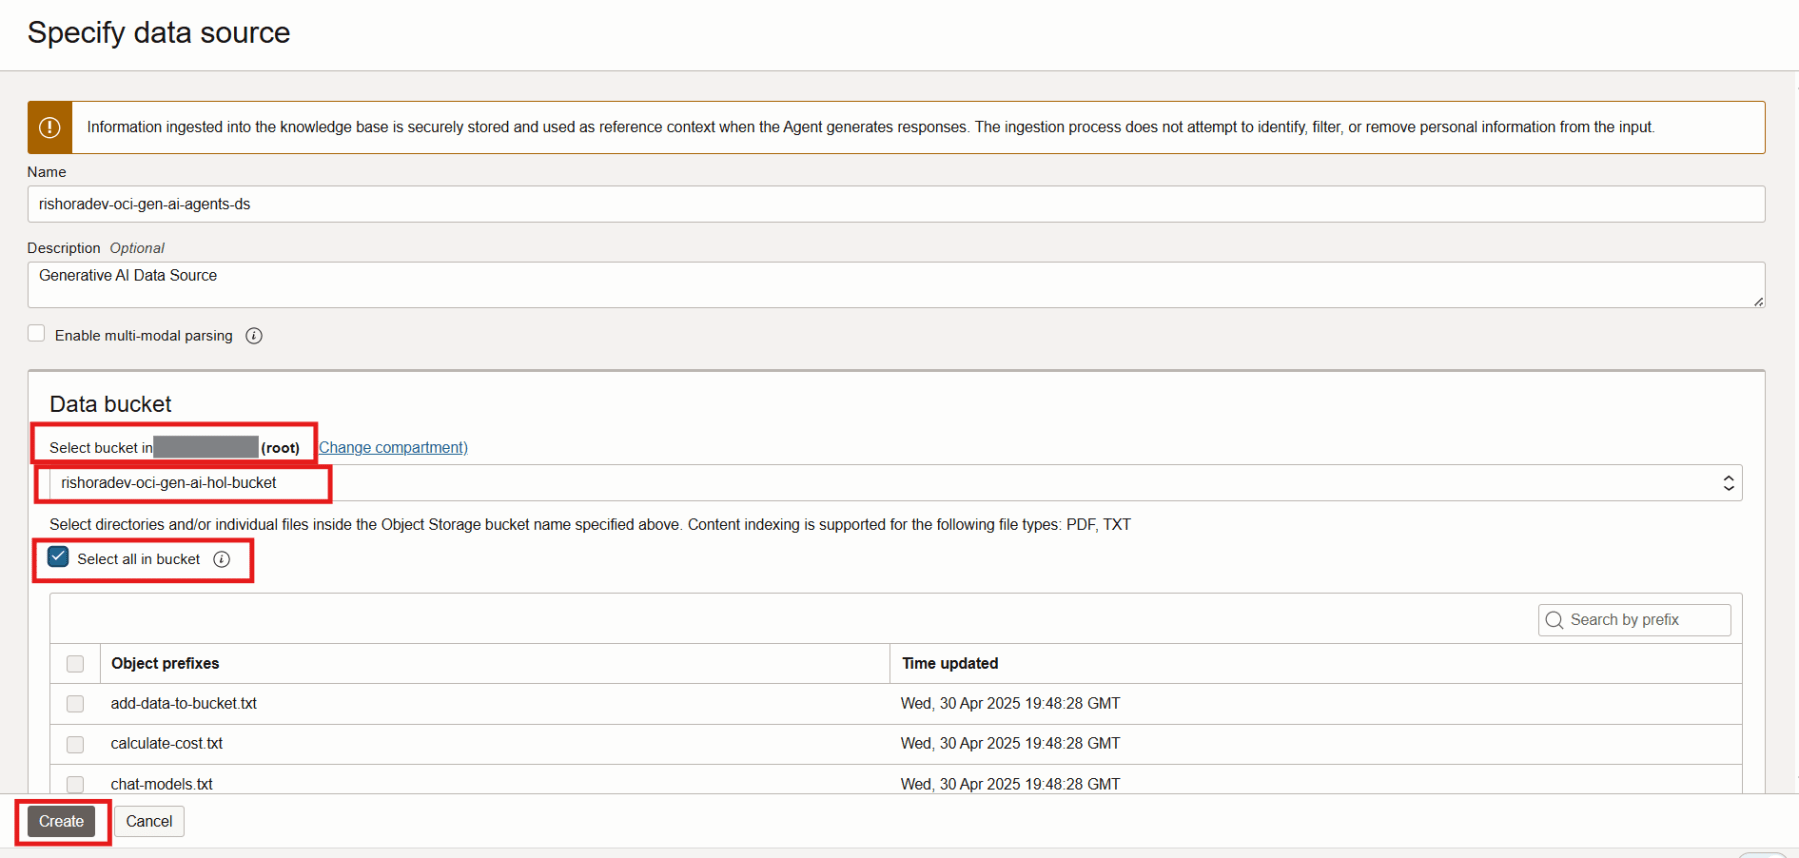
Then click on the Create button at the bottom of the New knowledge base page.
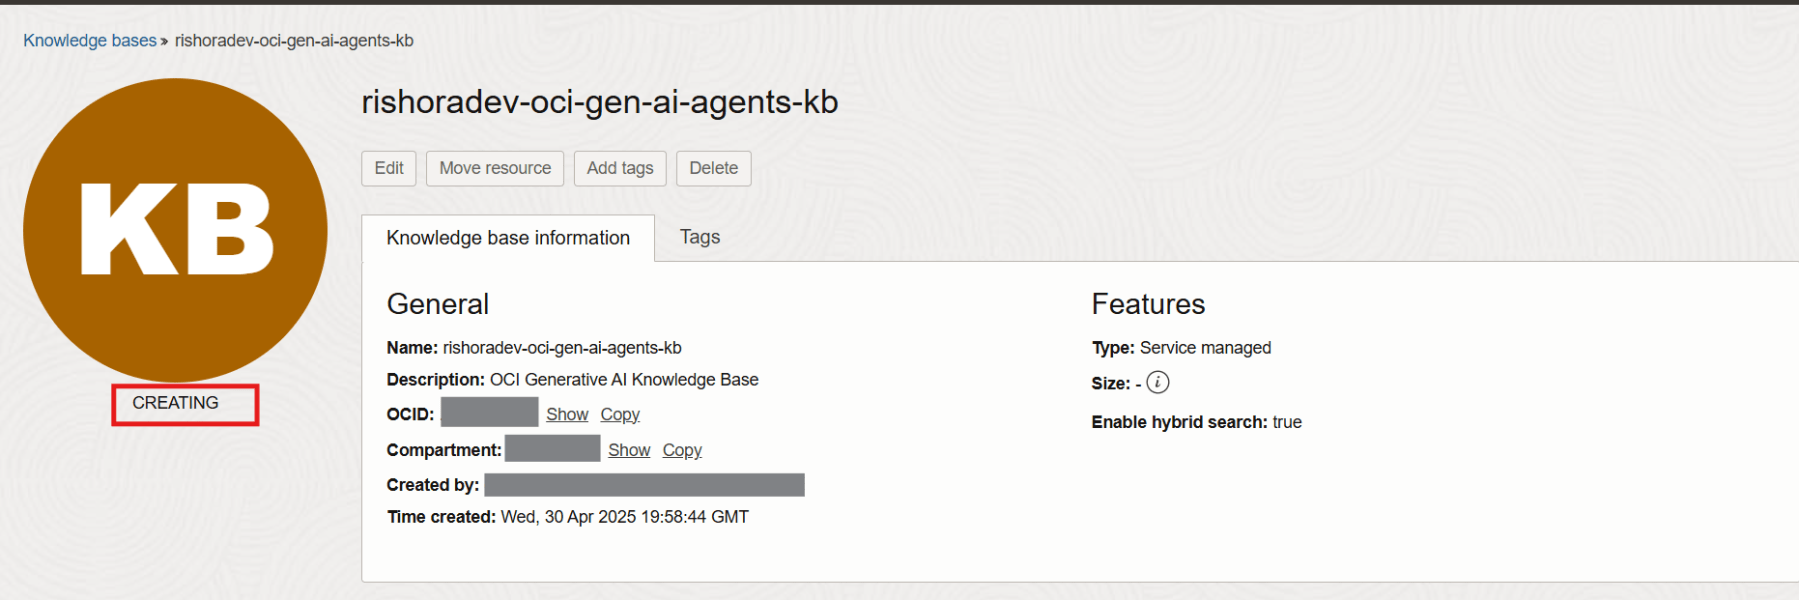
You can check the status of the knowledge base.
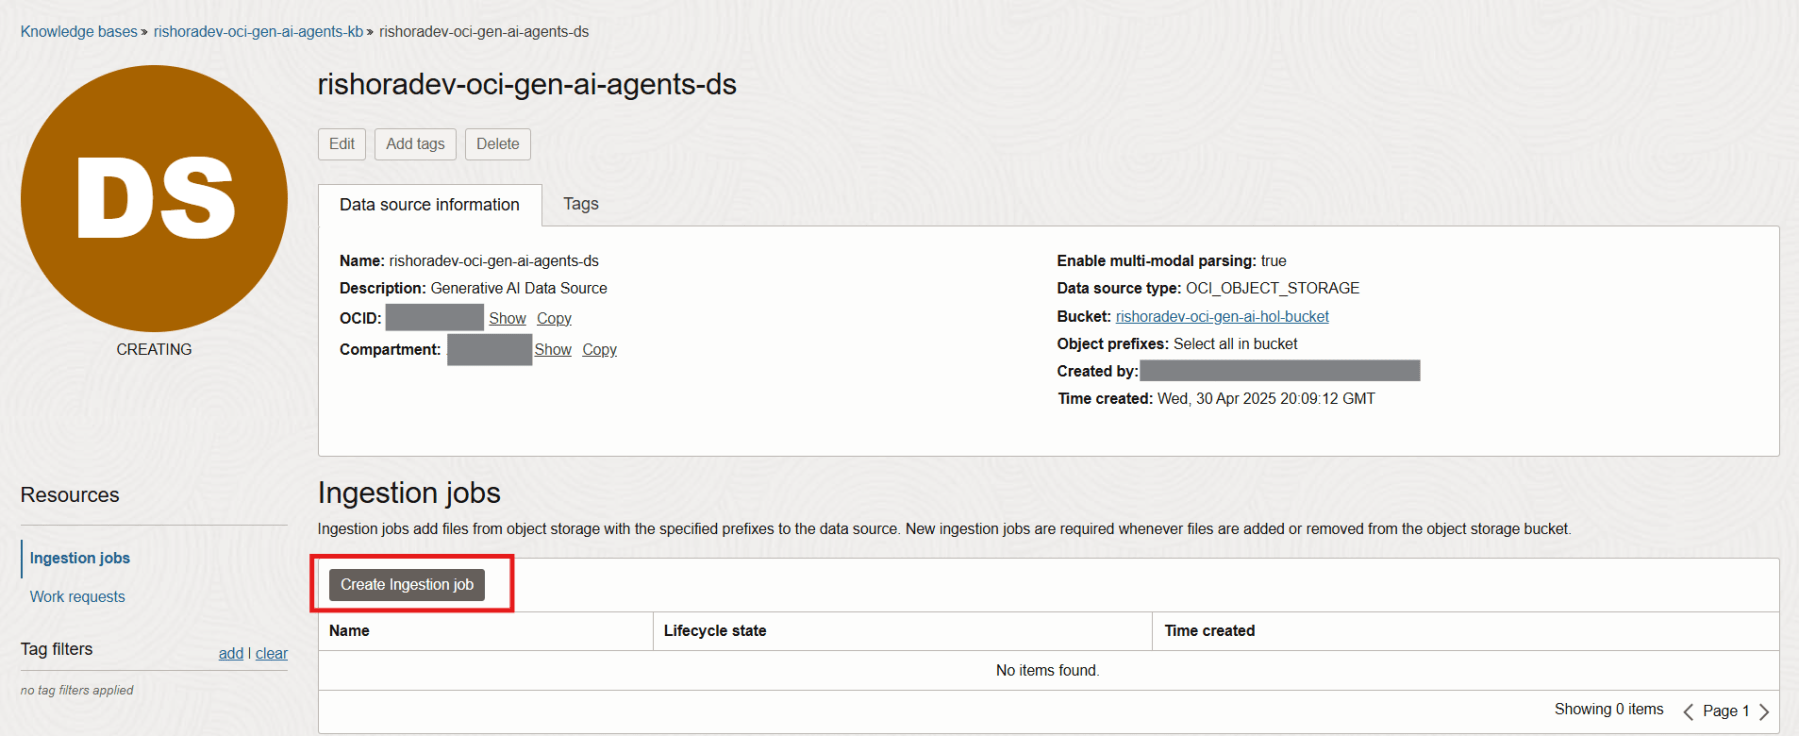
Similarly, check the status of the Data Source, as shown below.

An Ingestion job helps you to monitor the progress of how the information contained in the Data Source is being processed. It takes a while for this process to complete. To create an Ingestion job, navigate to the Data Source details page. Under Resources, click on Ingestion jobs and click on Create Ingestion jobs.
Enter a Name and Description in the New ingestion job page and click Create.

Click on the ingestion job.

You can view the Work requests under Resources. Click on the Work request.
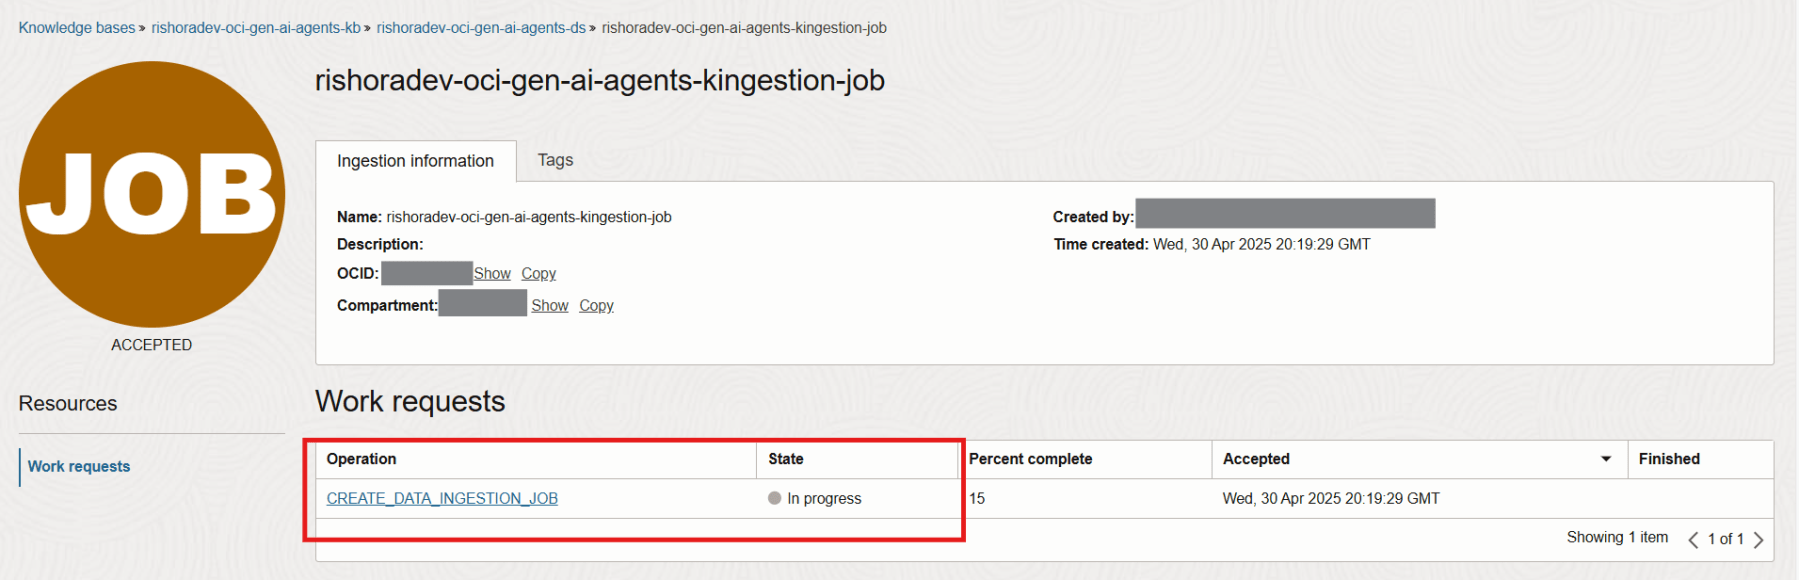
You can monitor the progress here.

The state of the Work request shows Succeeded.

The Lifecycle state of the Knowledge base shows Active.

The Lifecycle state of the Data source shows Active.

The Lifecycle state of the Ingestion job shows Succeeded.

References

Pingback: Create Your First Oracle Generative AI RAG Agent | RishOraDev's Oracle Blogs
Pingback: Enabling Oracle Generative AI Agent for OCI Regions | RishOraDev's Oracle Blogs