Decrypting Files with PGP in OIC: A Step-by-Step Guide
In my previous blog, we walked through generating public and private PGP keys and used the public key to encrypt a CSV file in OIC. In this follow‑up, we’ll build the reverse flow — decrypting that encrypted file using OIC. This time, we’ll use the private PGP key to restore the original file.
So let’s crack on!!!
Decrypting a File using OIC
On a high-level, the “Decrypt File” integration has the following steps.
- Accepts the encrypted file as input
- Decrypts it using the matching private PGP key
- Returns the original CSV file
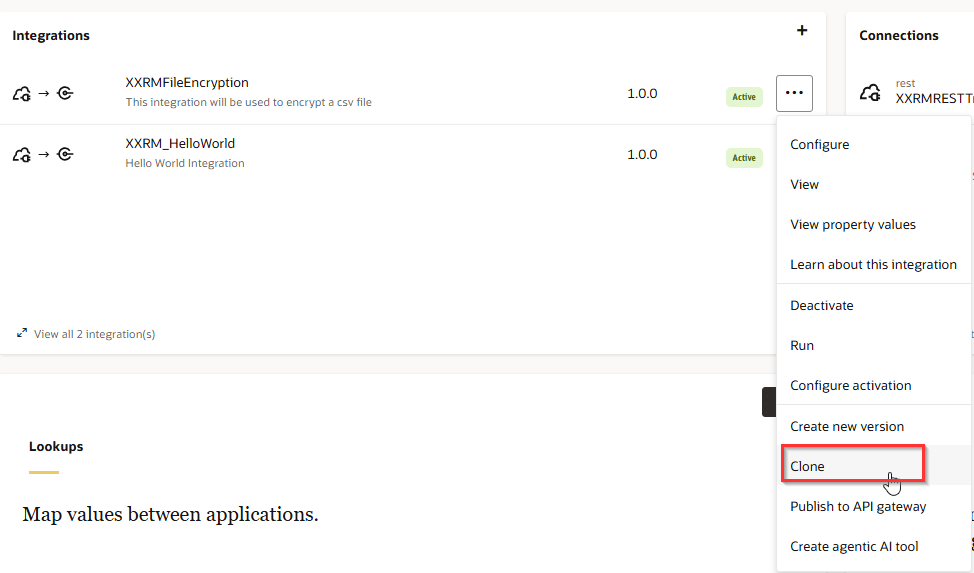
For this demo, instead of creating a new integration, we’ll clone the “Decrypt File” orchestration and make necessary changes. Navigate to Integrations > Integrations. Click on Clone.
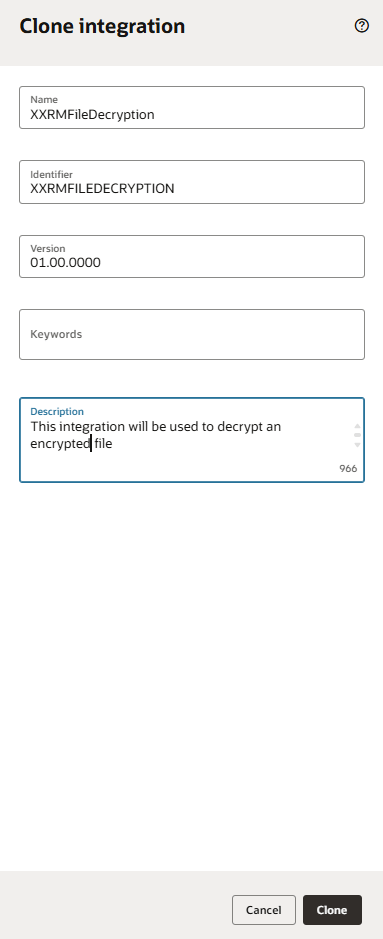
Amend the Name and Description and click Clone.
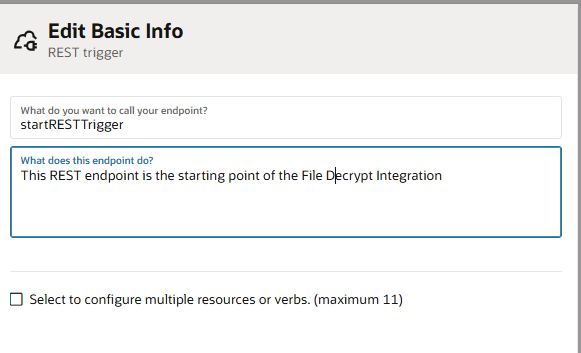
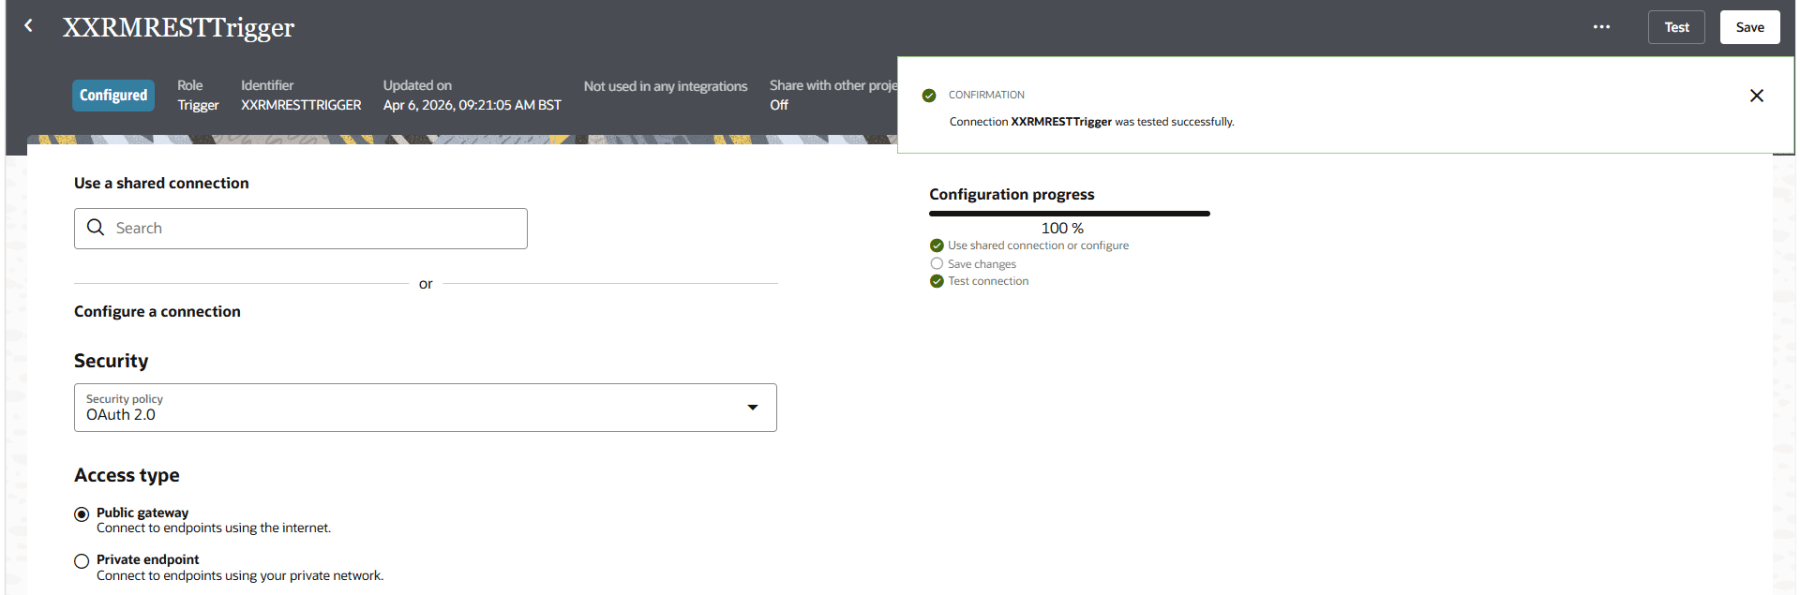
Once cloned, edit the integration. Edit the REST Tigger.

Edit the Description and click Continue.
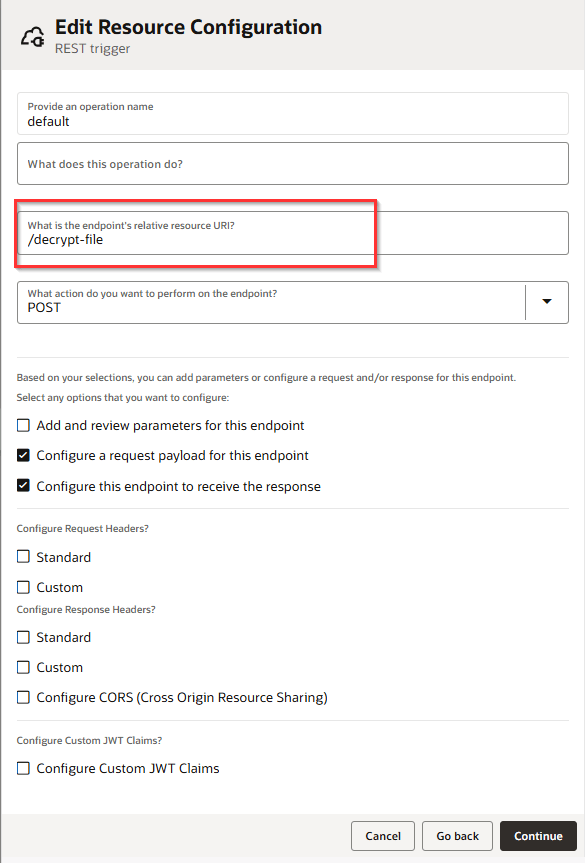
Change the resource URI. No other changes are required for the trigger. Click Continue and Finish.
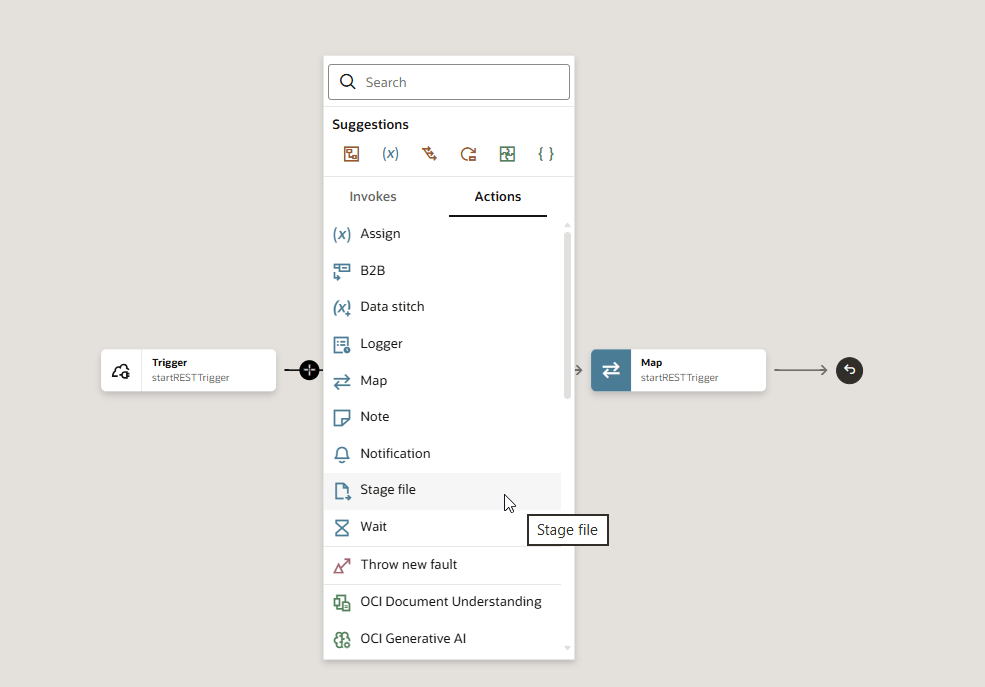
Delete the Stage File action and add a new one.
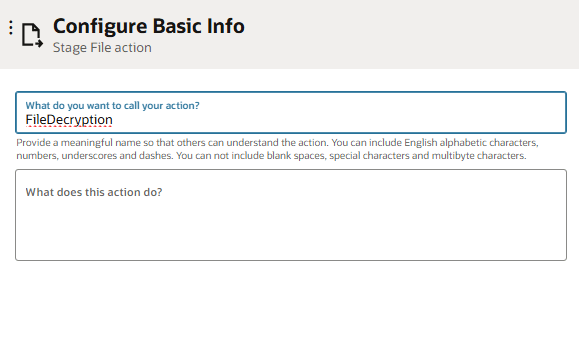
Add a name and click Continue.
Select Decrypt File Operation. Add the File Reference, File Name and Output Directory. Select the Private PGP Key uploaded earlier.
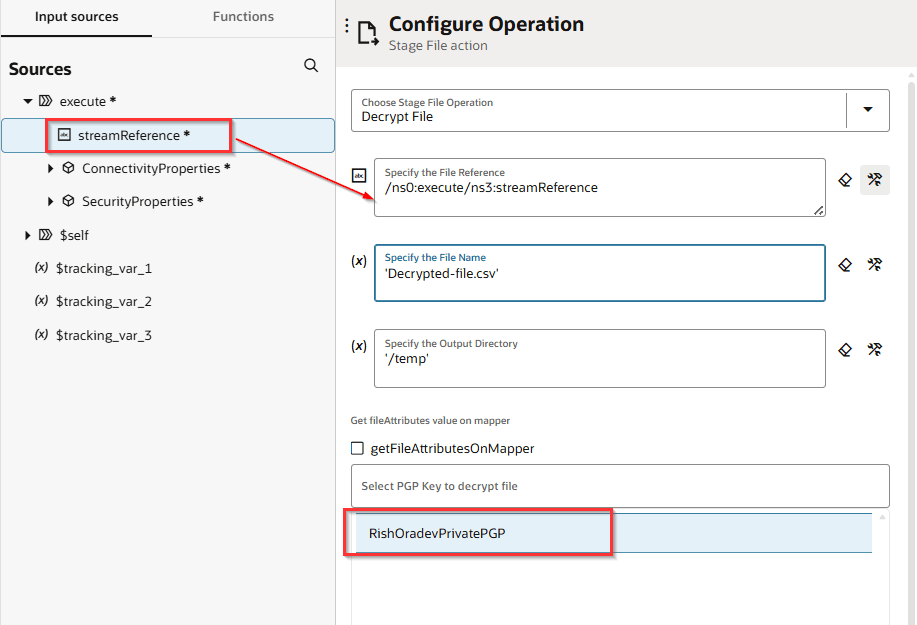
Click Finish.

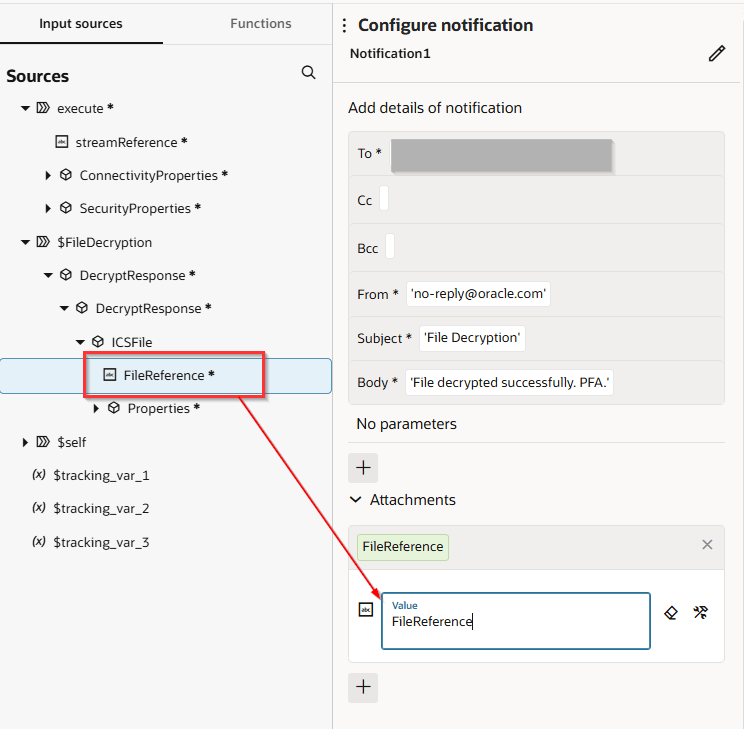
Edit the Notification action. Modify the Subject and Body of the notification accordingly. And finally, modify the file reference under Attachments.
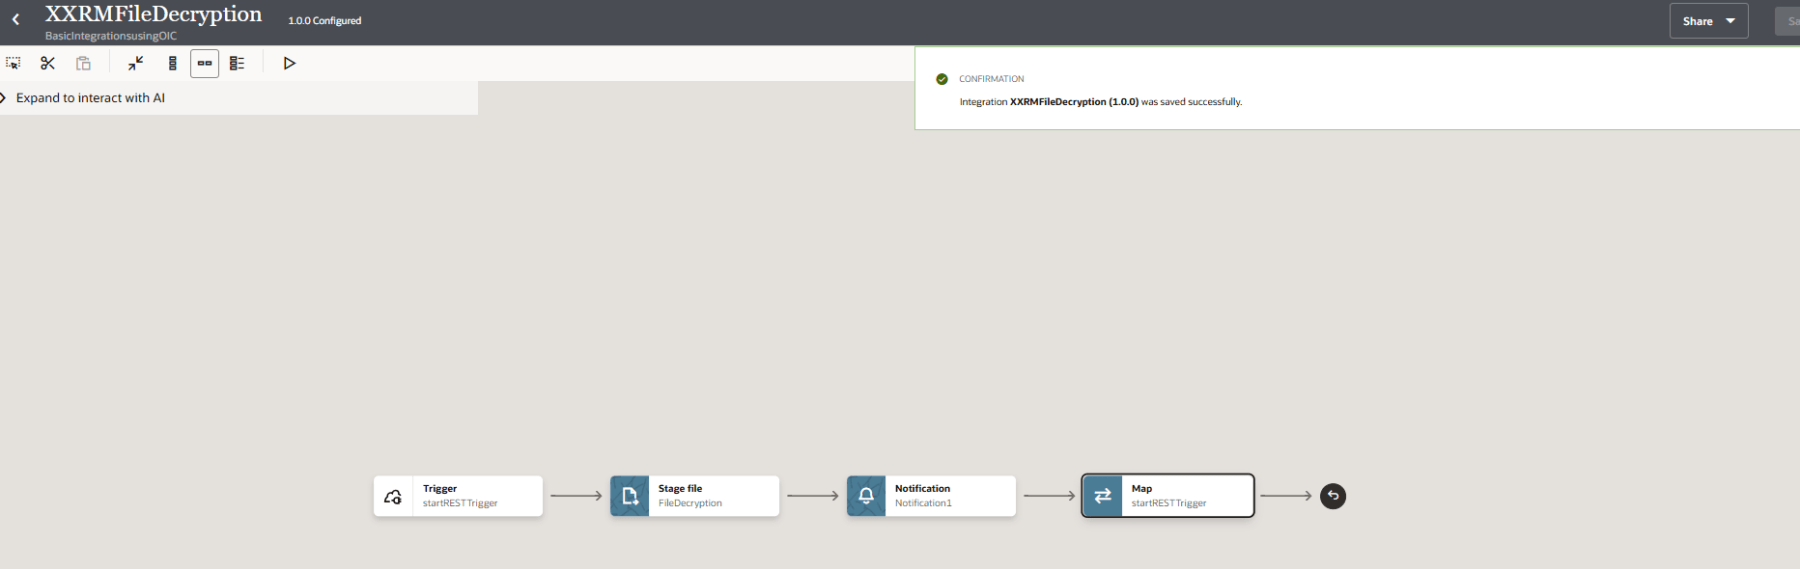
Save and activate the integration.
Testing the encryption flow
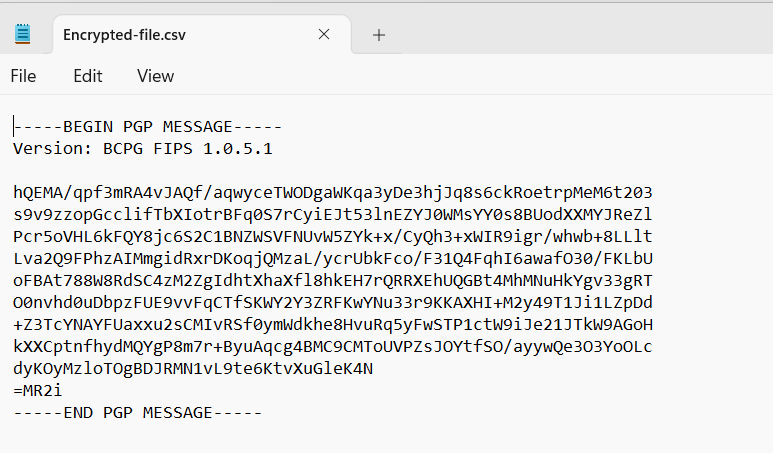
To test the flow, we will be using a encrypted file from the previous orchestration.
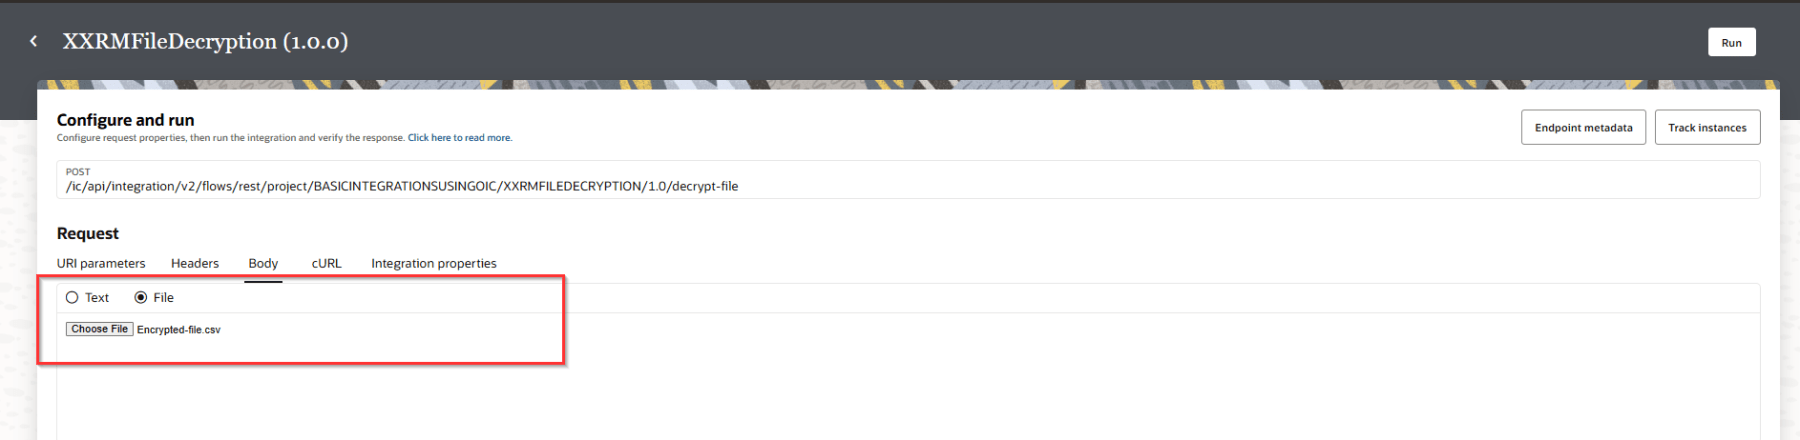
Now click on Run. For the request body, upload your encrypted file. Run the integration.
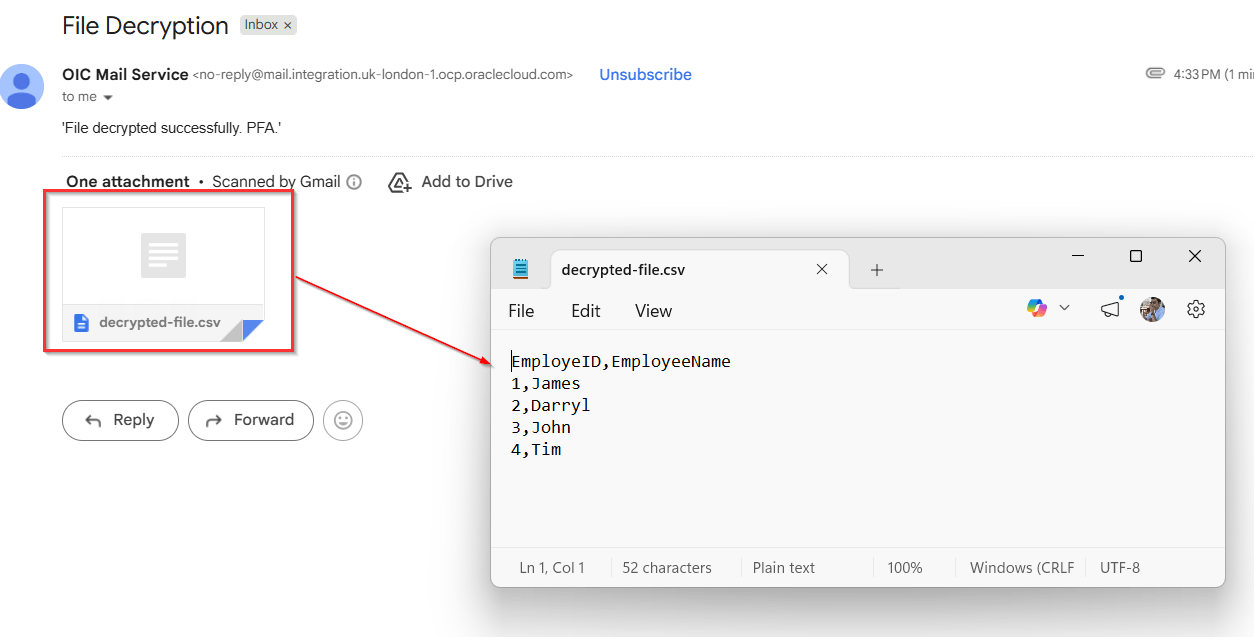
To confirm that the integration has worked, I would expect an email with the decrypted file attached. And voila!!!
Note that the file content is decrypted.
Hope this is useful. Happy learning!
References
