Create a Confidential Application to Connect to OIC using Client Credential Grant Type
In modern enterprise ecosystems, seamless integration between applications is critical. When working with Oracle Integration Cloud (OIC), secure communication becomes a top priority. This is where OAuth 2.0-based authentication and confidential applications come into play.
A confidential application is a secure client that can safely store credentials such as a client ID and client secret. It enables Intelligent Advisor to authenticate with Oracle Identity Cloud Service (IDCS) and securely invoke integrations in OIC.
In this blog, we will walk through the complete step-by-step process to create a confidential application and establish a secure connection between Intelligent Advisor and OIC.
So let’s crack on!!!
Why use a Confidential Application?
Before diving into the steps, it’s important to understand the purpose:
- Ensures secure authentication using OAuth 2.0
- Enables machine-to-machine communication
- Protects sensitive credentials (client ID & secret)
- Allows controlled access to OIC resources via scopes
In short, it acts as a trusted bridge between Intelligent Advisor and Oracle Integration.
Step-by-step process
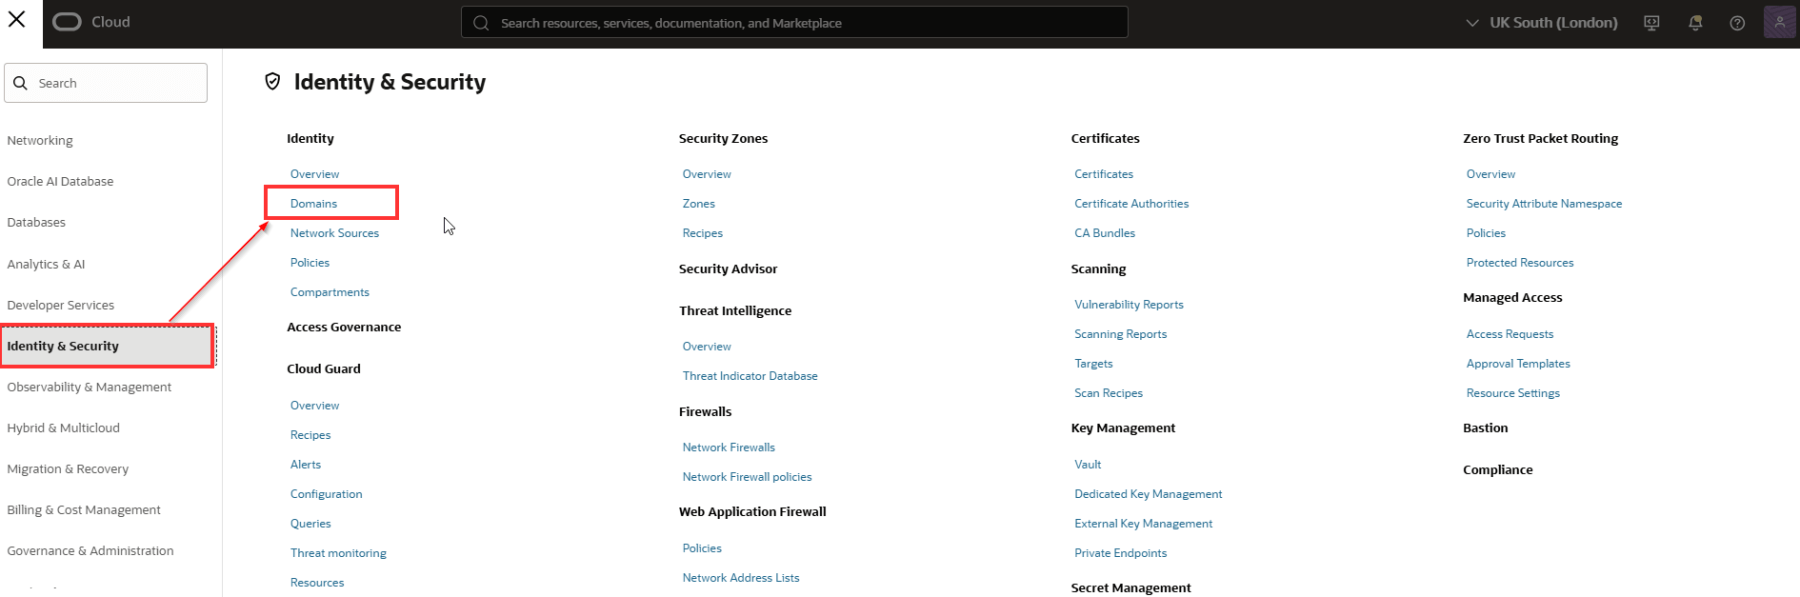
Login to OCI console and navigate to Identity & Security > Domains.
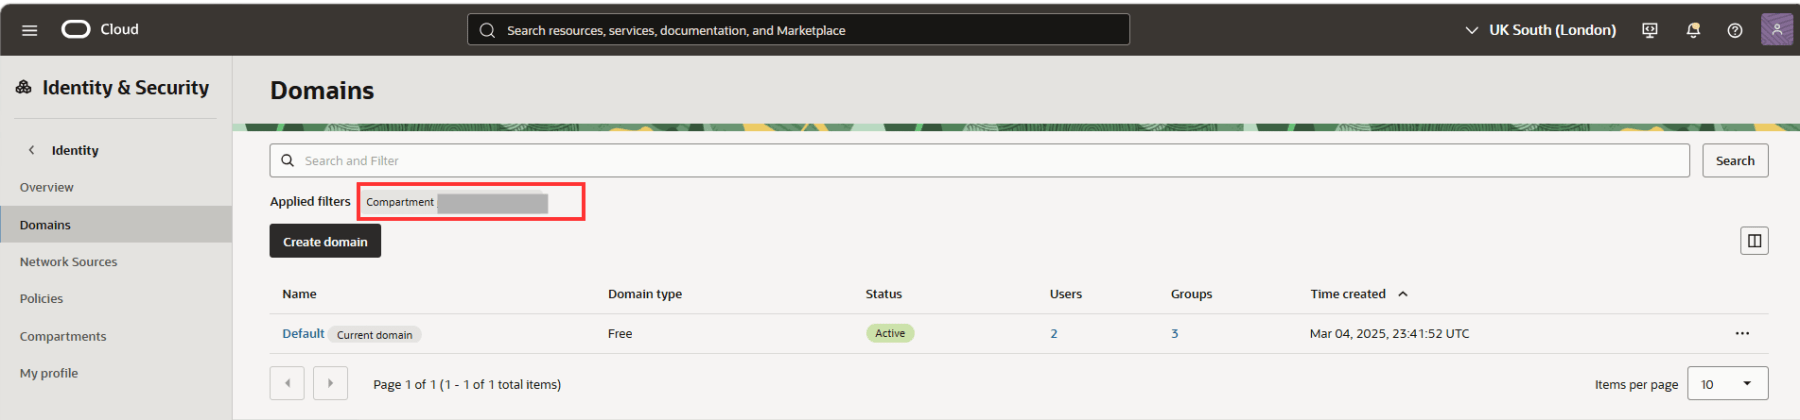
Make sure to select the correct compartment. Navigate to your chosen Domain. In this case, we will chose the Default domain.
Navigate to the Integrated applications tab. Click Add applications.

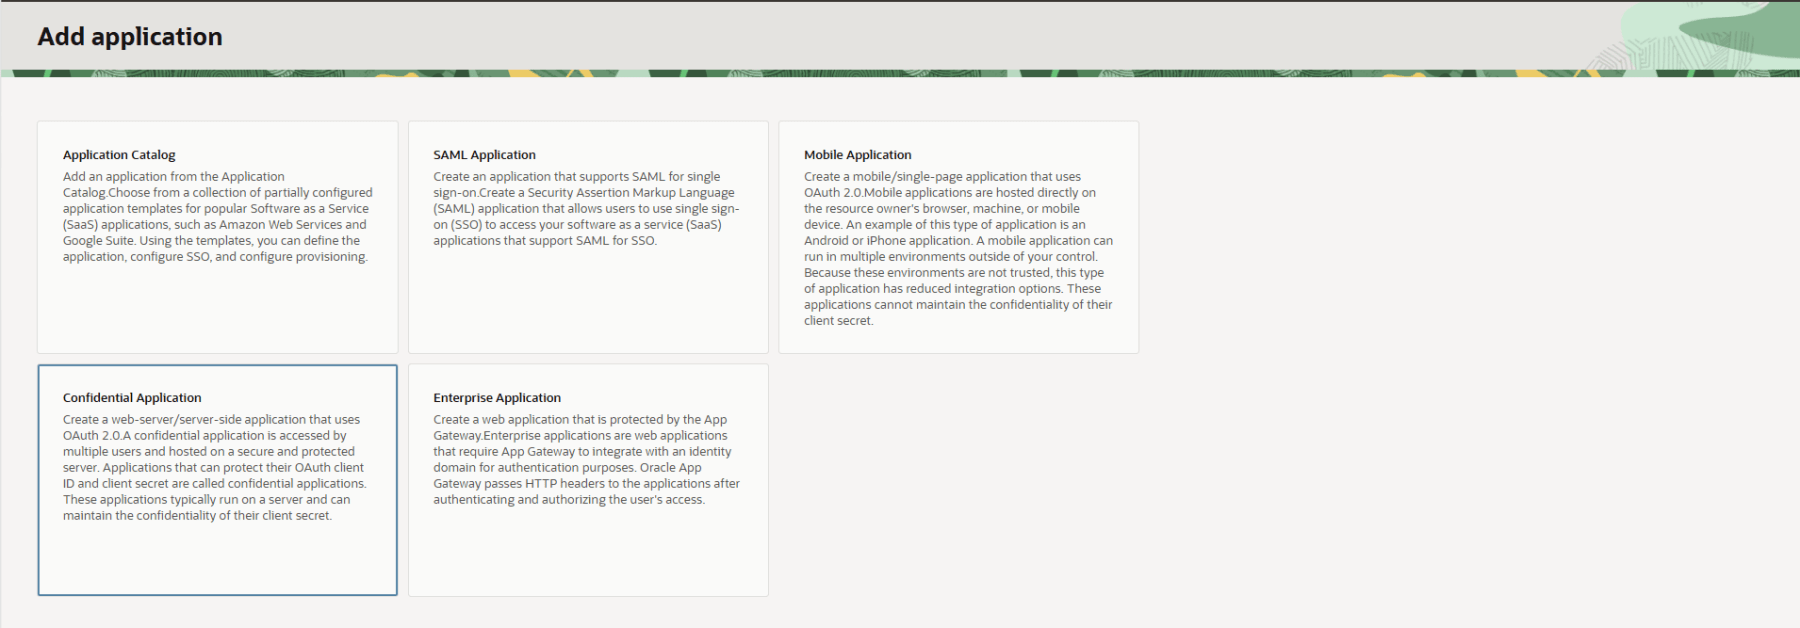
From the application types, we will choose Confidential Application. This is help us to authenticate users using OAuth 2.0. Confidential Application facilitates the protection of OAuth client ID and client secret
Type a name for the Confidential Application. Optionally add a Description.

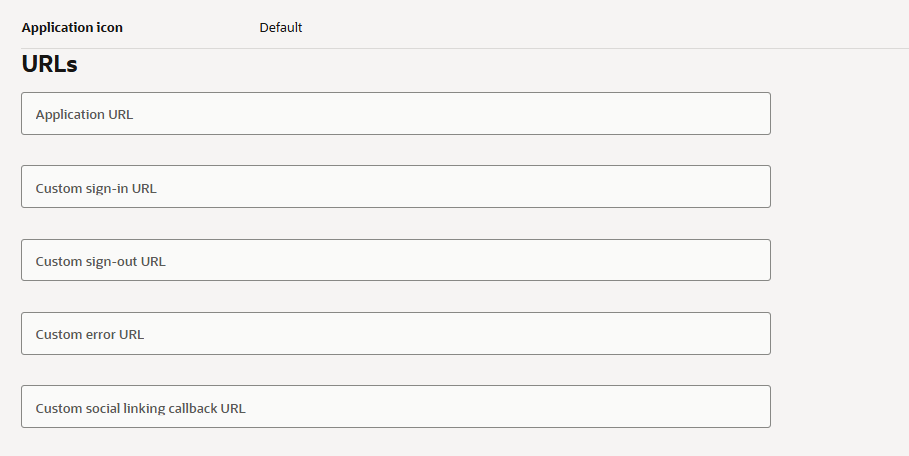
Under URLs, all fields and URLs are optional. For this demonstration, they will be left blank. However, in a production environment, ensure that all required URLs are configured appropriately based on your specific requirements.
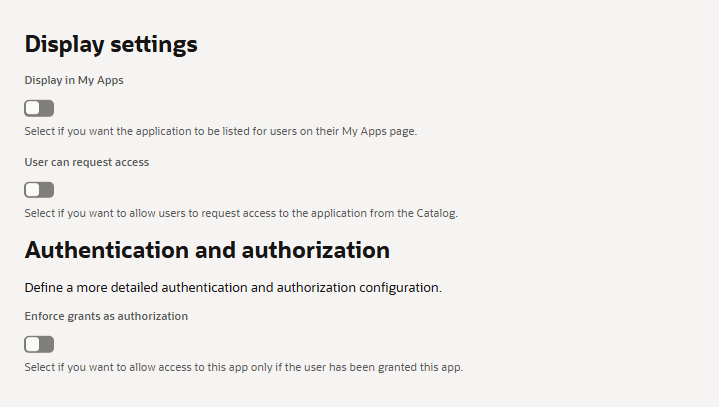
For this demo, I’ll leave the Display Settings and Authentication and Authorization sections as default. Create the Confidential Application.
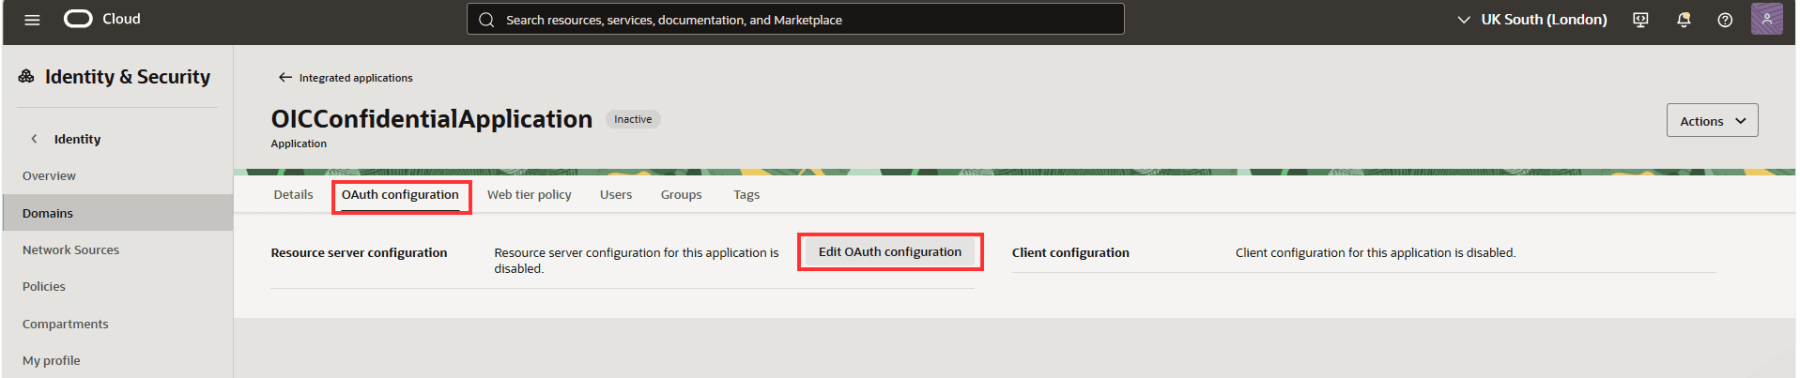
Once the application is created, we now need to complete the OAuth configuration. To do that, navigate to the OAuth configuration tab, and click on Edit OAuth configuration.
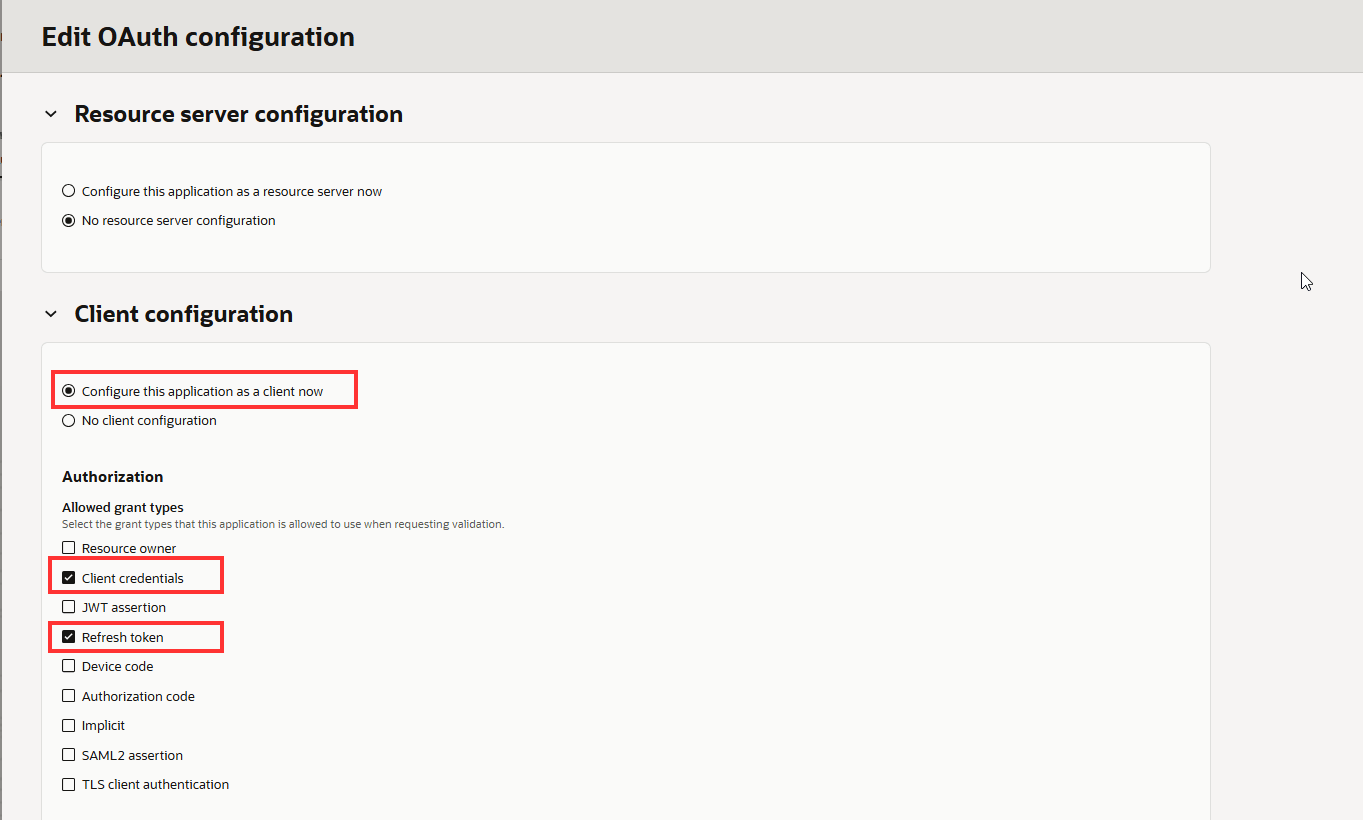
Since we are setting up a client configuration, select Configure this application as a client now. This will expand the configuration panel. While multiple grant types can be configured for an application, this guide focuses specifically on the Authorization Code flow. Select Client credentials and Refresh token.
Since this is a basic flow, I will select Anywhere under Client IP address. However, when you are setting up within your organization, you must select Restrict by network perimeter to implement a tighter security.

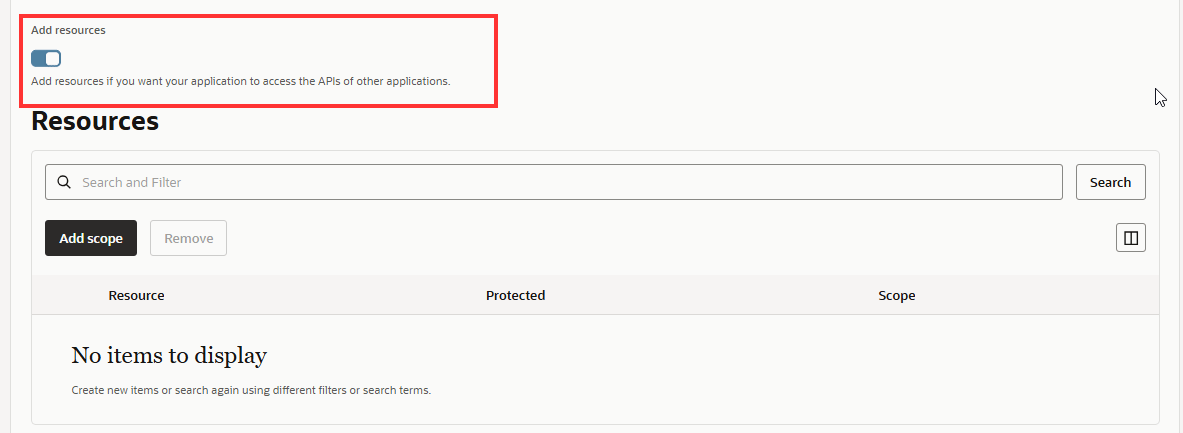
Under Add Resources, enable the slider and click on Add Scope for the confidential application.
Search for your OIC instance and click on Add.
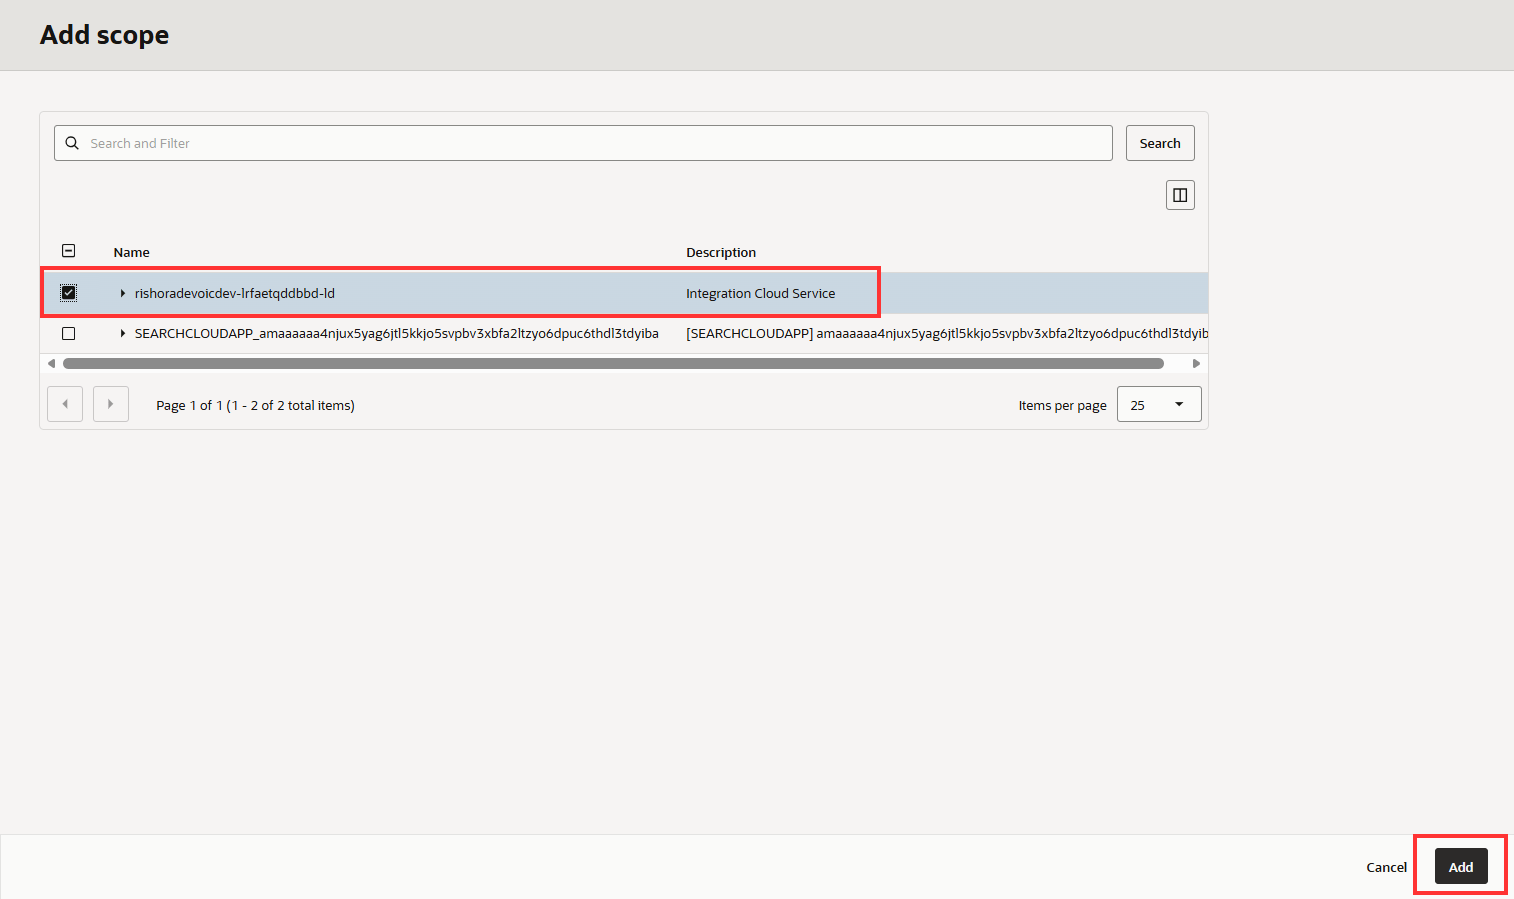
You will see that the scopes are now added to your confidential application. Make a note of the
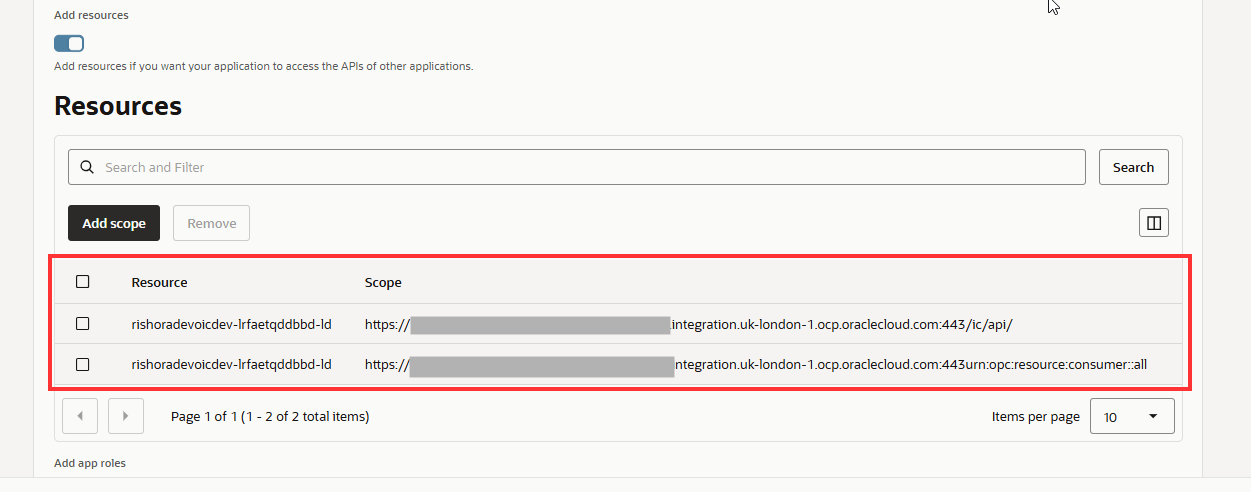
Make a note of the consumer::all scope. This will be required when you are generating the Access token.

Click Next and then Finish.

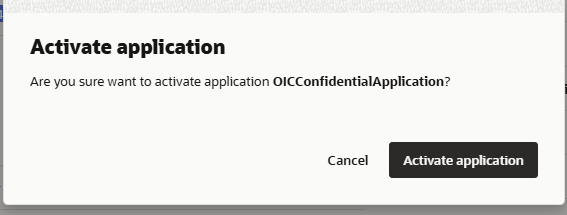
Now the Confidential Application is all configured. Activate it.

A dialogue box will pop up. Click on Activate application.
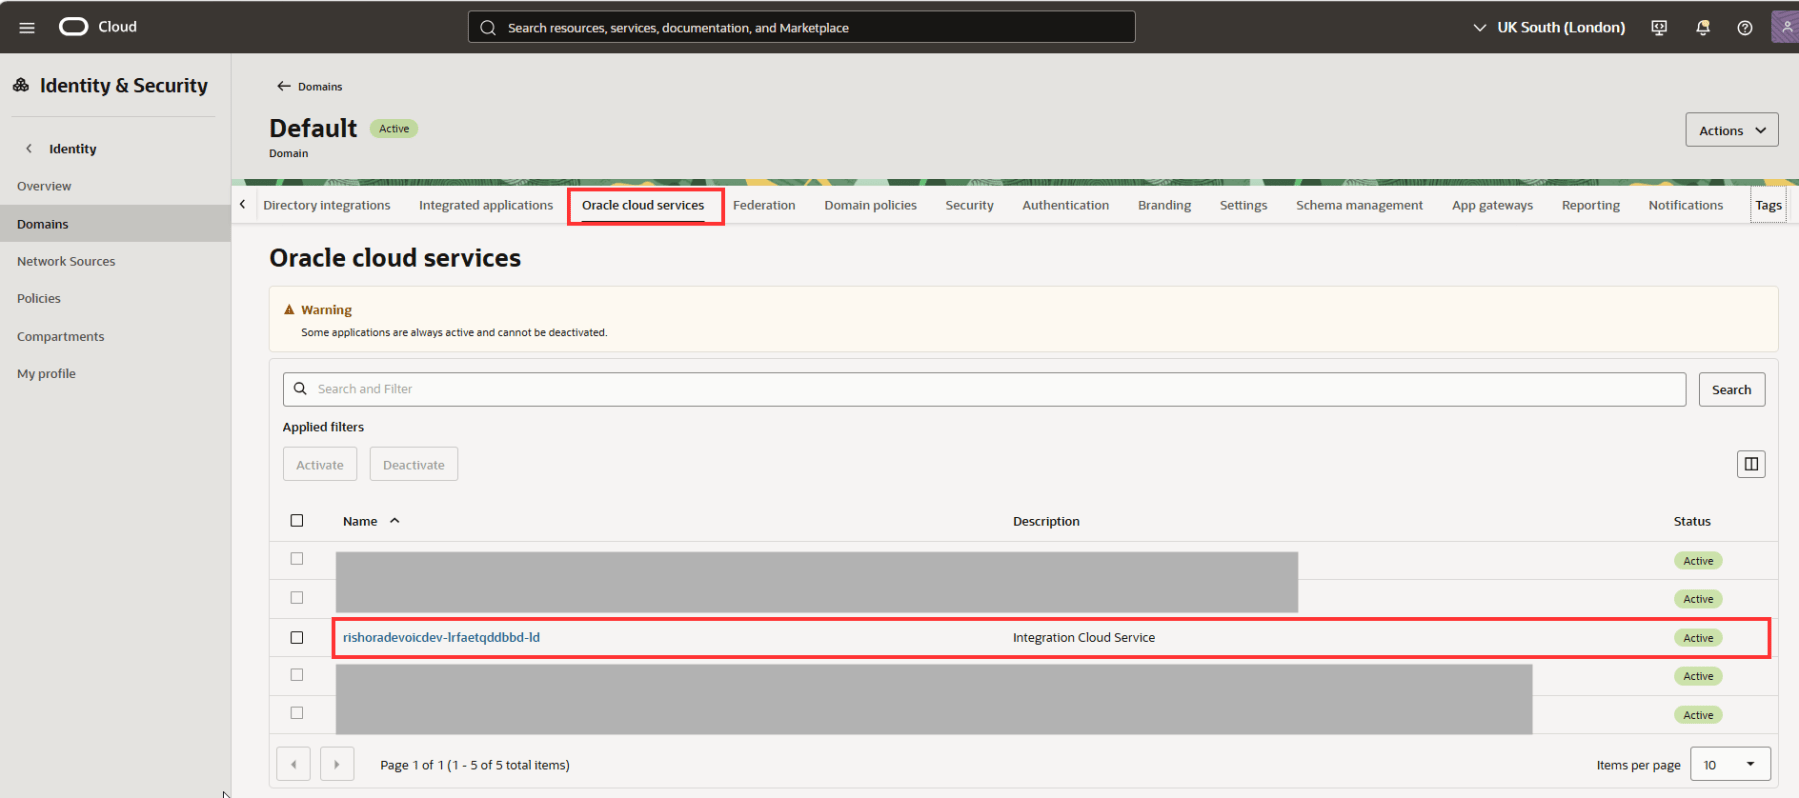
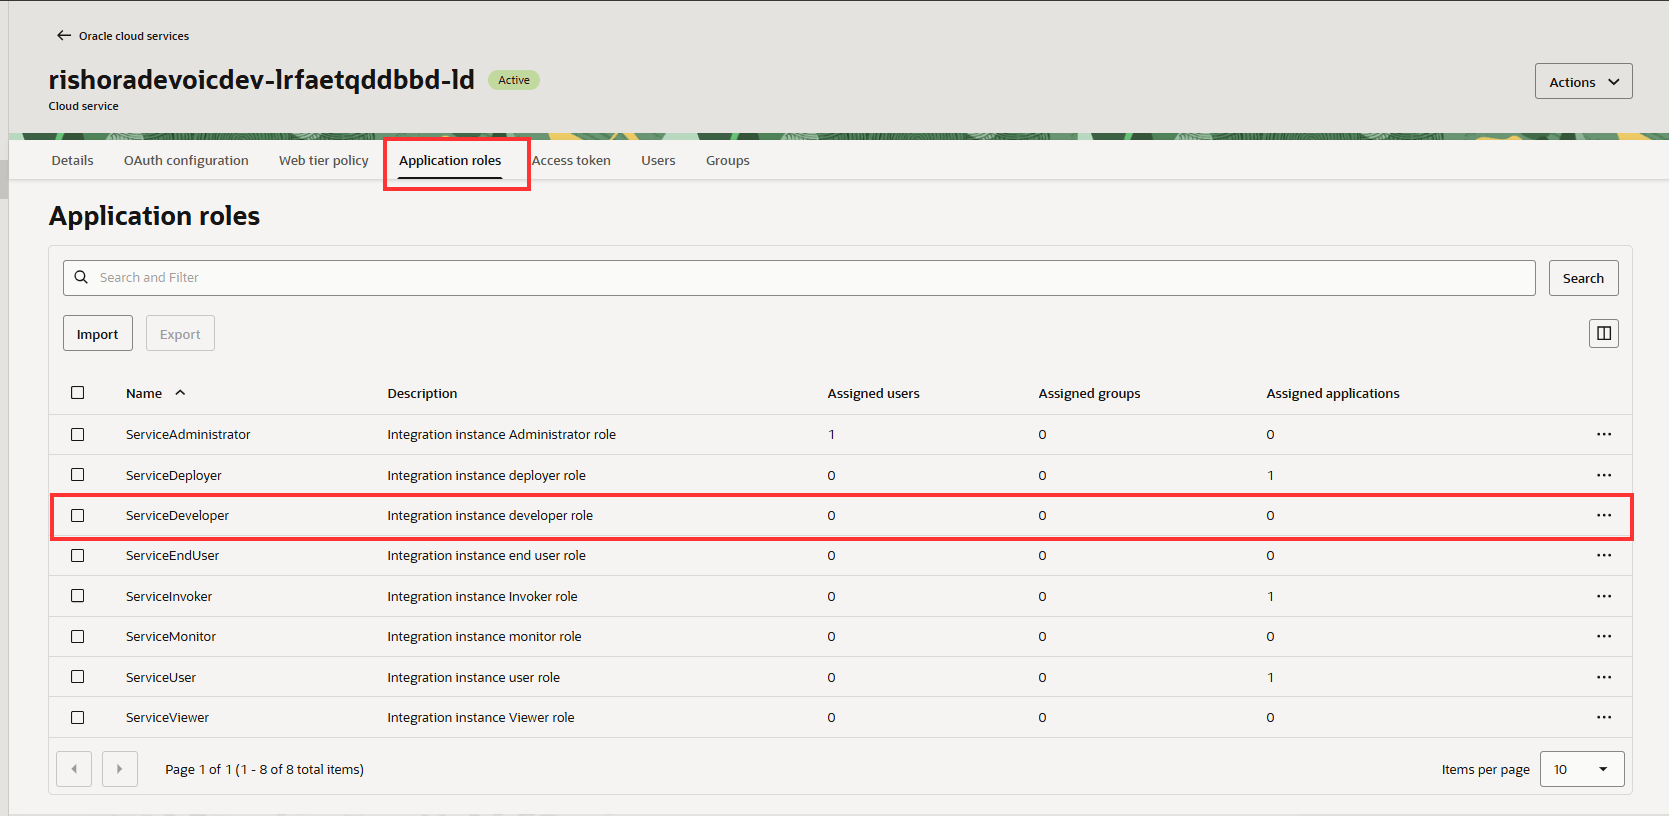
Navigate to the Oracle cloud services tab for your domain and select
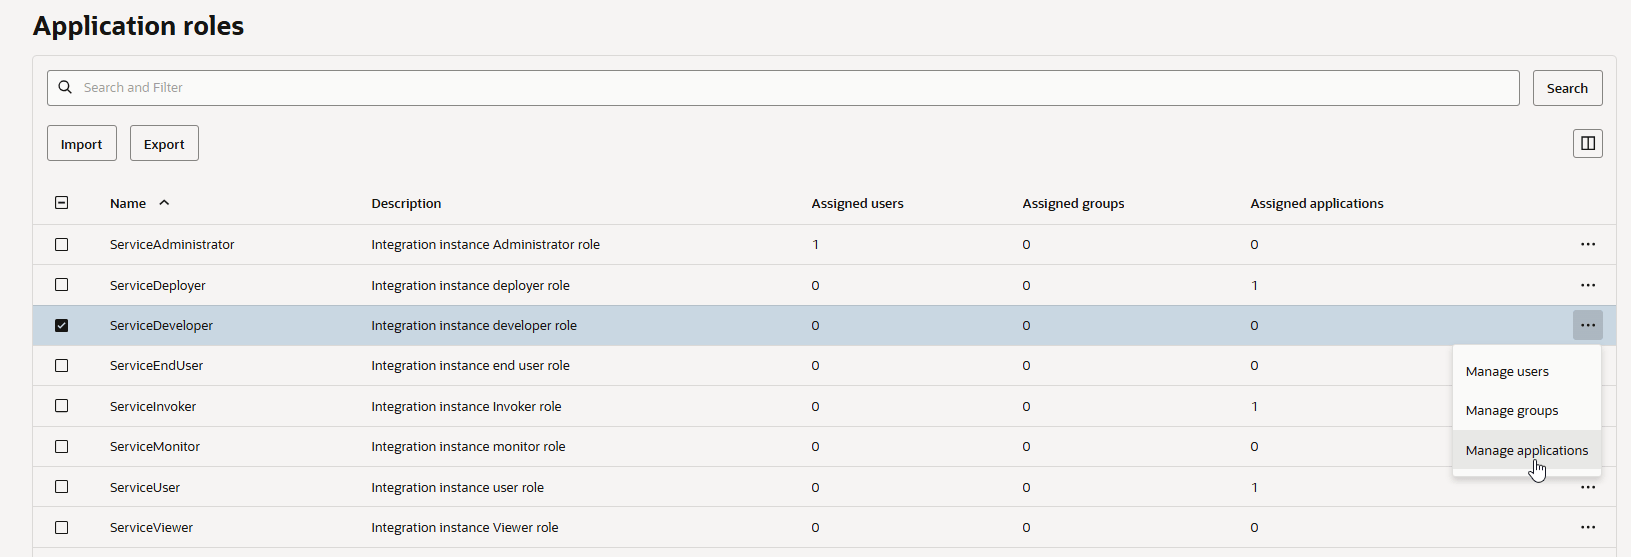
Navigate to Application Roles. Assign ServiceInvoker role and ServiceDeveloper role to the confidential client Application using Manage Applications. This allows the application to invoke OIC integrations. At minimum, the ServiceInvoker role is required. Additional roles may be needed depending on the integration.
Select the roles and click on Manage applications.
Click Assign.

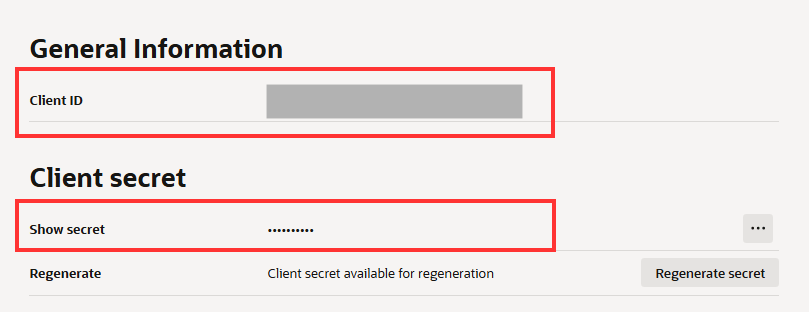
Take a note of the Client ID and Client secret. You will need it for generating the access token.
That completes configuring the Confidential application. Now let us test the connection
Test OIC REST API Call using Postman
For the demonstration purposes, we will be using Postman to first Generate our access token and then use this access token to invoke our OIC REST API.
Generate Access Token in Postman
To generate the access token within postman, we will use the information that we have already captured. I have furnished these in the tables below.
| Security Policy | OAuth Authorization Code |
| Auth Type | OAuth 2.0 |
| Token Name | OICToken |
| Grant type | Client Credentials |
| Client Authentication | Send as Basic Auth header |
| Client ID | <Client ID> |
| Client Secret | <Client Secret> |
| Access token URL | https://<your-iam-domain>.identity.oraclecloud.com/oauth2/v1/token |
| Scope | https://XXXX.integration.uk-london-1.ocp.oraclecloud.com:443urn:opc:resource:consumer::all |
Use the above information to configure a new token under the Authorization tab, mas shown below, and click Get New Access Token.
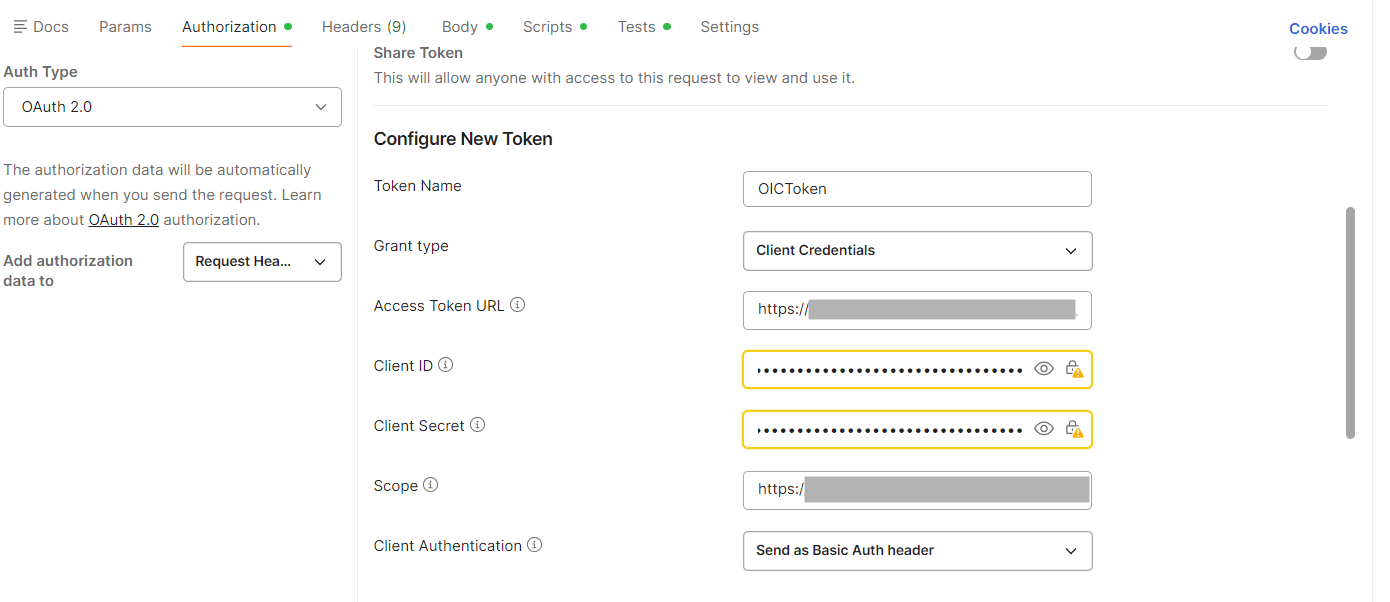
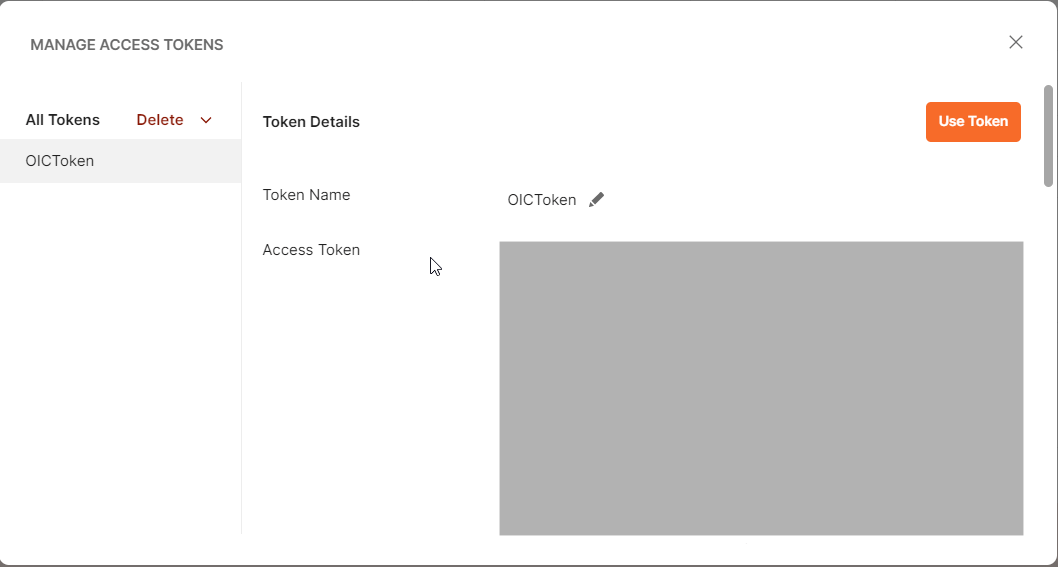
If all the validations are correct, a new Access Toke will be generated. Click on Use Token to use this token for the OIC REST API call.
Invoking OIC REST API.
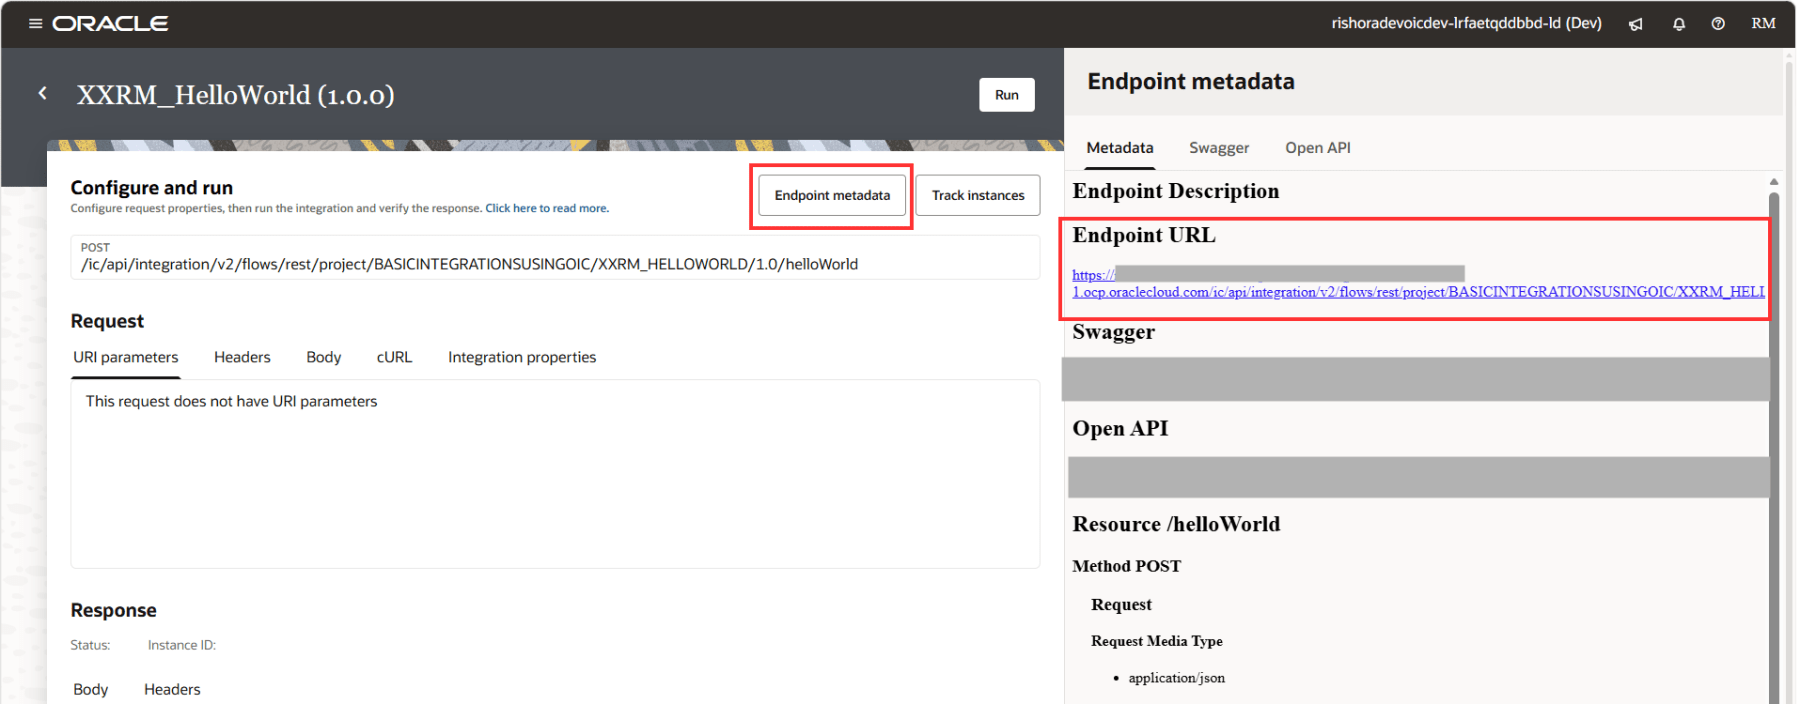
For invoking your OIC REST API, enter the endpoint URL for your OIC integration. If you don’t know where to locate it, go to the Run section of your integration in Oracle Integration Cloud and click Endpoint Metadata to retrieve the details.
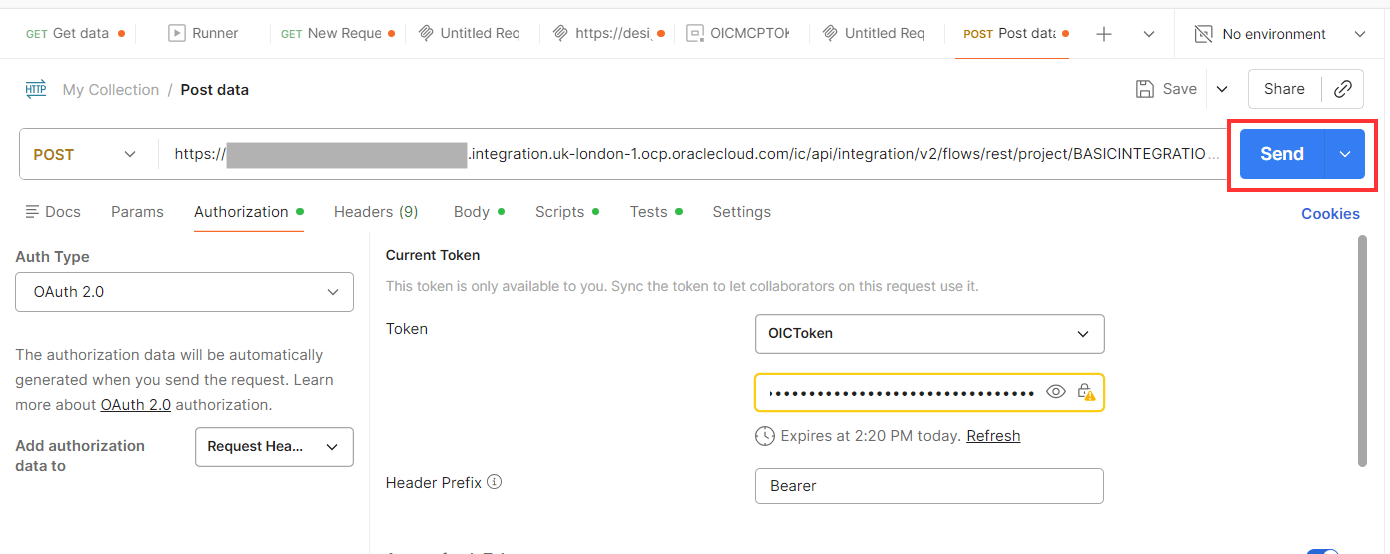
Select the correct request type for your OIC integration type. I’m using the integration which I demonstrated in this blog, which had the request type – POST.
Add your URL endpoint, select the token that you created above and click on Send.
You can check the status of the REST API call from the Postman console. If the call is successful, the status returned will be HTTP/1.1 200 OK.

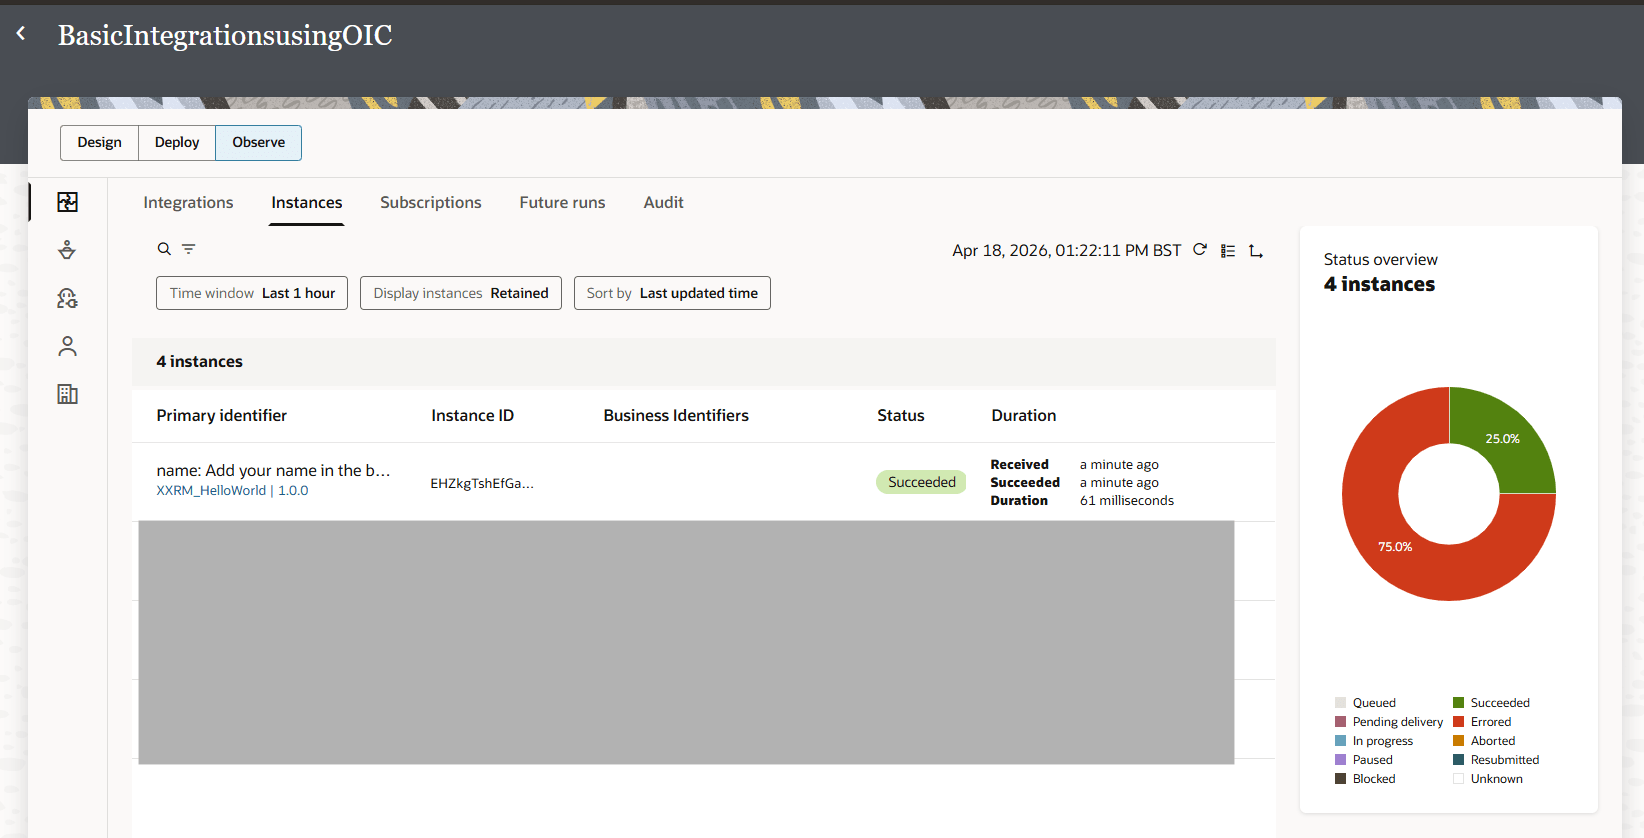
Also login to your OIC console and verify the integration invocation from the Instances tab under Observability.
Hope this was useful. Happy learning!
References

Pingback: Transforming OIC Projects into MCP‑Enabled AI Tools | RishOraDev's Oracle Blogs